Cheeseburger Bombs are the ultimate game-changer for anyone who loves the classic flavors of a juicy burger wrapped in a soft, pillowy exterior. Imagine golden-brown baked dough bursting with molten sharp cheddar cheese and perfectly seared seasoned ground beef. These bite-sized explosions of flavor are finished with a glistening melted garlic butter glaze, toasted white sesame seeds, and dried parsley flakes, making them the star of any Pinterest-worthy spread.
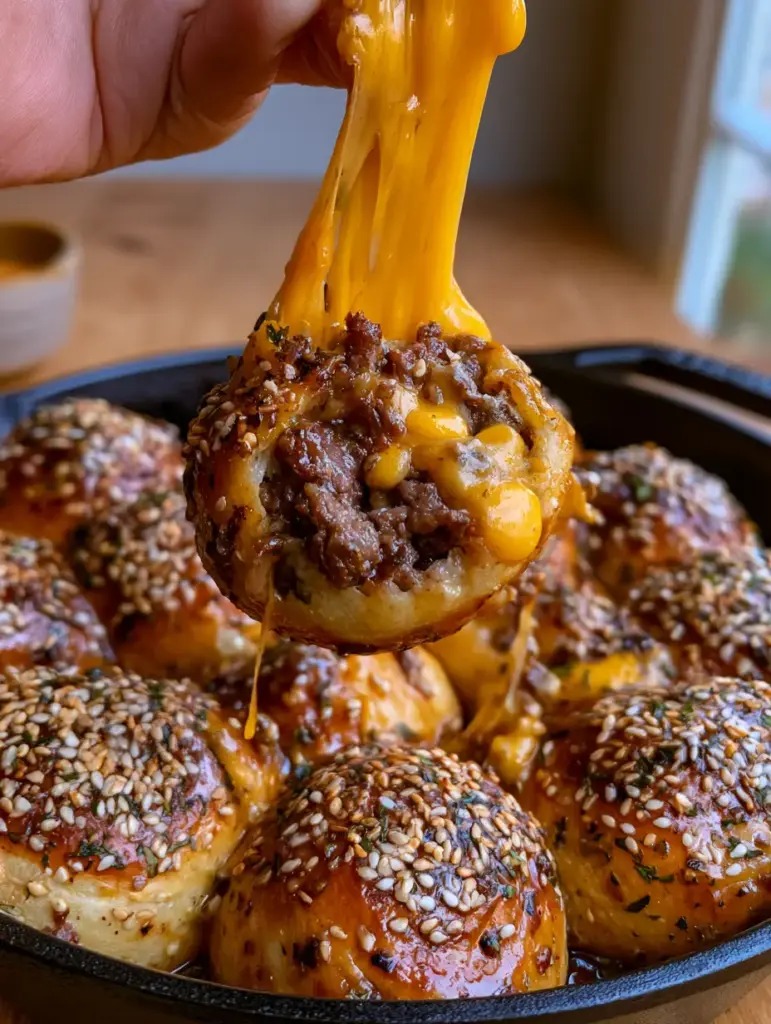
Whether you are looking for a crowd-pleasing appetizer or a fun family dinner, these Cheeseburger Bombs deliver a sensory experience that hits every mark. From the first sight of the steam wisps rising off the skillet to the incredible molten yellow cheddar cheese pull, this recipe is designed to be as visually stunning as it is delicious. Best of all, they are incredibly easy to assemble using simple pantry staples and a few pro techniques.
Why You Will Crave These Cheesy Stuffed Bites
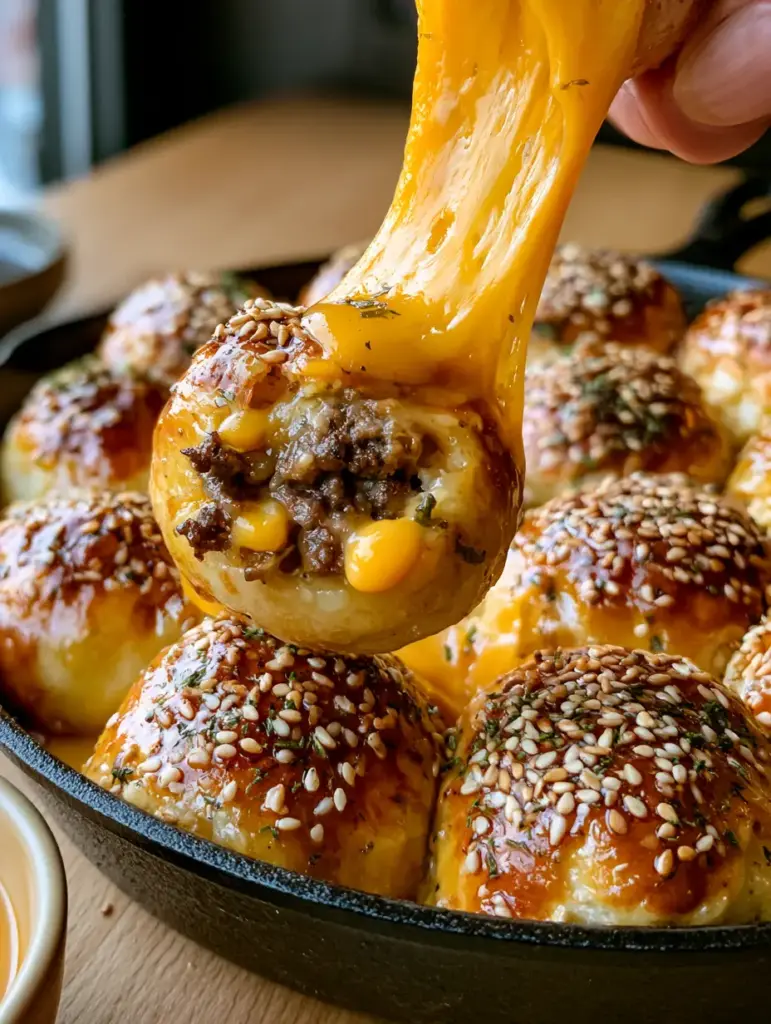
- The Ultimate Cheese Pull: We use thick cubes of sharp cheddar to ensure a long, thick, gooey stretch every single time you tear one open.
- Perfectly Seared Beef: Unlike other recipes, we focus on high-heat searing to create juicy, seared ground beef crumbles with maximum umami flavor.
- Irresistible Crust: The golden-brown baked dough is brushed with a melted garlic butter glaze that adds a savory, salty crunch to every bite.
- Textural Harmony: The crunch of toasted white sesame seeds contrasts beautifully with the soft, airy interior of the dough balls.
If you enjoy hearty, crowd-pleasing meals, you might also want to try our ground turkey skillet for a lighter weeknight alternative. However, when you want pure comfort, nothing beats these Cheeseburger Bombs.
The Essential Ingredient Breakdown
Creating the perfect Cheeseburger Bombs requires high-quality ingredients that provide both structure and flavor. Here is what you will need to get that authentic social media style finish.
Ground Beef: Use an 80/20 blend for the best flavor. The fat content ensures the seared seasoned ground beef stays moist inside the dough. You can also experiment with different proteins, similar to our teriyaki chicken fried rice techniques, but beef is the classic choice here.
Sharp Cheddar Cheese: Specifically choose a block of sharp cheddar and cut it into 1-inch (2.5cm) cubes. This creates those tiny melted cheese pockets and the signature molten yellow cheddar stretch that makes these Cheeseburger Bombs so famous.
Refrigerated or Homemade Dough: While you can use homemade yeast dough, high-quality refrigerated biscuit or pizza dough works perfectly for a quick, golden-brown baked dough result.
Garlic Butter Glaze: A mix of unsalted butter, fresh minced garlic, dried parsley flakes, and a pinch of salt. This is what gives the exterior that glistening melted butter highlight.
Toasted White Sesame Seeds: These provide the iconic “burger” look and a subtle nutty flavor that elevates the entire dish.
How to Make Perfect Cheeseburger Bombs Step-by-Step
Follow these detailed steps to ensure your Cheeseburger Bombs look exactly like the handheld smartphone photo in our blueprint.
Step 1: Searing the Seasoned Beef
Start by heating a black cast iron skillet over medium-high heat. Add 1 lb (454g) of ground beef. Do not crowd the pan; you want to achieve a deep brown crust. Season heavily with salt, pepper, and onion powder. Break the beef into juicy, seared ground beef crumbles. Once browned, drain the excess fat and set the beef aside to cool slightly.
Step 2: Preparing the Dough Pockets
Flatten your dough into circles about 3 inches (7.6cm) in diameter. Place a generous spoonful of the seasoned beef in the center, followed by a large cube of sharp cheddar. This ratio is crucial for achieving that molten yellow cheddar stretch when the Cheeseburger Bombs are torn open.
Step 3: Sealing the Bombs
Pinch the edges of the dough together tightly to seal the filling. Roll the ball between your palms to ensure there are no gaps. Any opening will cause the molten sharp cheddar cheese to leak out during baking, and we want those melted cheese pockets trapped inside!
Step 4: The Skillet Arrangement and Baking
Arrange the dough balls in the black cast iron skillet, leaving just a tiny bit of space for expansion. Bake at 375°F (190°C) for 15-18 minutes until the tops are a deep, golden-brown baked dough color. You should see steam wisps coming off the pan as they finish.
Step 5: The Garlic Butter Finish
While the Cheeseburger Bombs are hot, brush them generously with the melted garlic butter glaze. Sprinkle a heavy layer of toasted white sesame seeds and fine flecks of dried parsley over the top. The glistening highlights from the butter will make them look absolutely irresistible.
Expert Tips for Success
- Chill the Filling: If your beef is too hot, it will start to melt the dough before it hits the oven. Let it cool to room temperature first.
- Don’t Skimp on the Glaze: The garlic butter glaze is what prevents the golden-brown baked dough from tasting dry.
- Use a Cast Iron Skillet: The heavy iron distributes heat evenly, ensuring the bottoms of your Cheeseburger Bombs are just as crisp as the tops.
- Freshness Matters: If you love these snacks, try our oven-baked pasta chips for your next party—they offer a similar satisfying crunch!
Storage, Reheating & Freezing
Cheeseburger Bombs are best served fresh for that ultimate molten sharp cheddar cheese experience. However, you can store leftovers in an airtight container in the refrigerator for up to 3 days. To reheat, use an oven or air fryer at 350°F (175°C) to maintain the golden-brown baked dough texture; avoid the microwave to prevent the dough from becoming soggy.
To freeze, flash-freeze the unbaked dough balls on a tray before transferring them to a freezer bag. Bake directly from frozen, adding 5-7 minutes to the total cooking time.
What to Serve With This
These Cheeseburger Bombs are incredibly rich, so they pair perfectly with a bright dipping sauce. A classic “special sauce” (mayo, ketchup, mustard, and relish) in a small ramekin is the perfect companion. For a balanced meal, serve them alongside a crisp green salad or even some light cucumber caprese skewers.
Frequently Asked Questions
Yes! Cook them at 350°F (175°C) for 8-10 minutes. Ensure they are not touching so the hot air can circulate and create that golden-brown crust.
Absolutely. You can assemble the bombs and keep them covered in the fridge for up to 4 hours before baking. Apply the garlic butter glaze only after they come out of the oven.
Use a high-quality sharp cheddar block cut into 1-inch (2.5cm) cubes rather than shredded cheese. The solid cube melts into a concentrated pocket of molten yellow cheddar.
For convenience, refrigerated biscuit dough or pizza dough works best to achieve a golden-brown baked exterior. If you have time, a homemade brioche dough adds a lovely sweetness.
This usually happens if the dough isn’t pinched tightly enough or if there is a small tear. Ensure you seal the seams completely and place them seam-side down in the skillet.
The Ultimate Skillet Cheeseburger Bombs Recipe
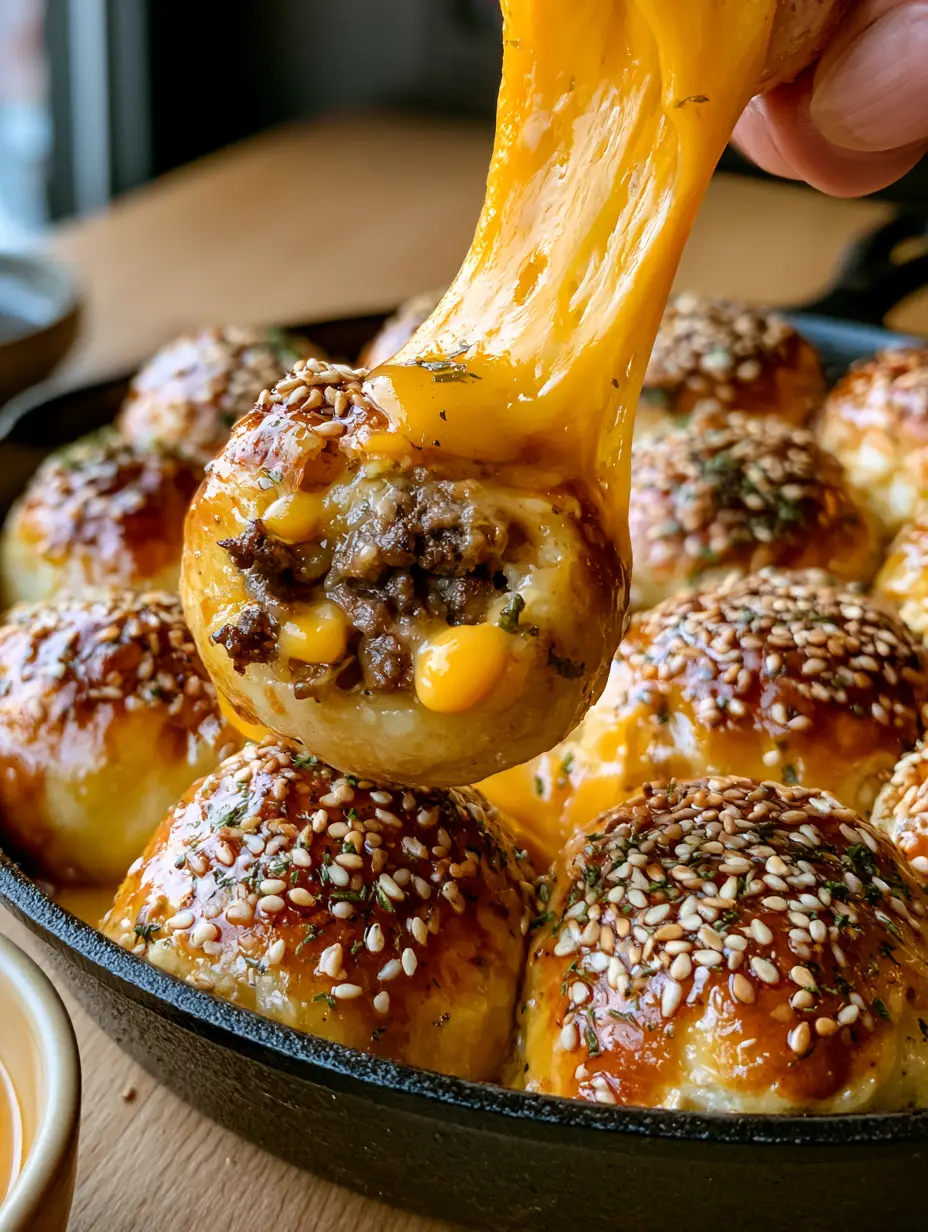
Cheeseburger Bombs: The Best Golden-Brown Stuffed Dough Bites
Ingredients
Equipment
Method
- In a black cast iron skillet, brown the ground beef with onion powder, salt, and pepper until you have juicy, seared ground beef crumbles.
- Drain excess fat and let the beef cool slightly to prevent tearing the dough.
- Divide dough into 8-10 equal portions and flatten into circles.
- Place a spoonful of beef and a cube of sharp cheddar in the center of each dough piece.
- Pinch the dough tightly around the filling to create smooth balls.
- Place the bombs in the skillet and bake at 375°F (190°C) for 15-18 minutes until golden-brown.
- Brush with melted garlic butter and top with sesame seeds and dried parsley while hot.
Notes
Use a high-quality sharp cheddar for the best melt and flavor stretch.
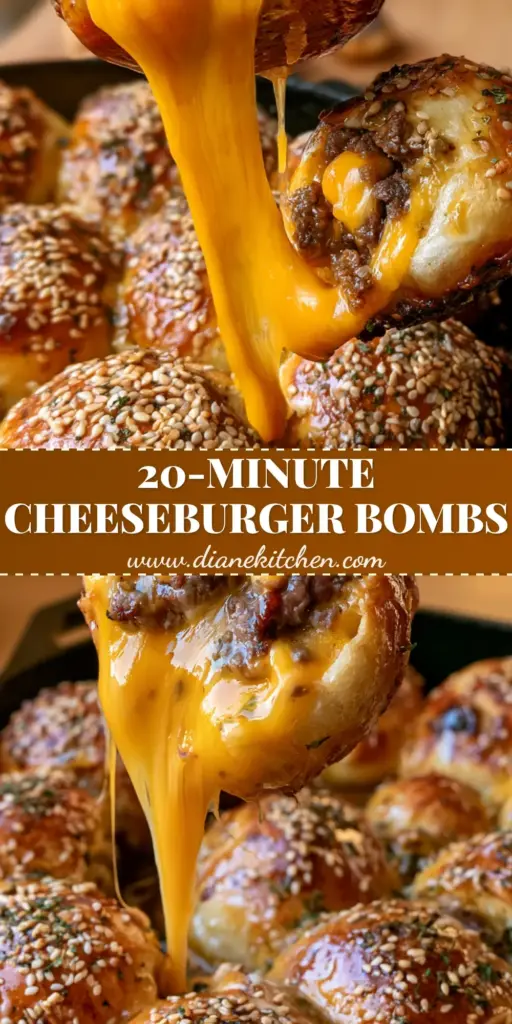
Save This Recipe to Pinterest!
Do not let this recipe get lost in your feed! Make sure to save these Cheeseburger Bombs to your “Appetizers” or “Game Day Food” board on Pinterest. Following diane_kitchen_1 ensures you never miss a viral recipe like this one. If you make these, please share a photo of your molten yellow cheddar cheese pull in the comments below and leave a 5-star rating! We love seeing your authentic social media style creations!