Cocoa Powder Brownies are the ultimate test of a home baker’s skill, but achieving that elusive, paper-thin shiny crinkle crust and a dense, ultra-fudgy moist interior doesn’t require magic—it requires science. If you have been searching for a brownie that delivers an intense chocolate punch without the need for melting down expensive chocolate bars, this recipe is your new gold standard. By mastering the emulsification of sugar and eggs, we create a meringue-like top that shatters upon impact, revealing a center so rich it practically melts on your tongue.
Why These Fudgy Cocoa Brownies Are The Best You Will Ever Bake
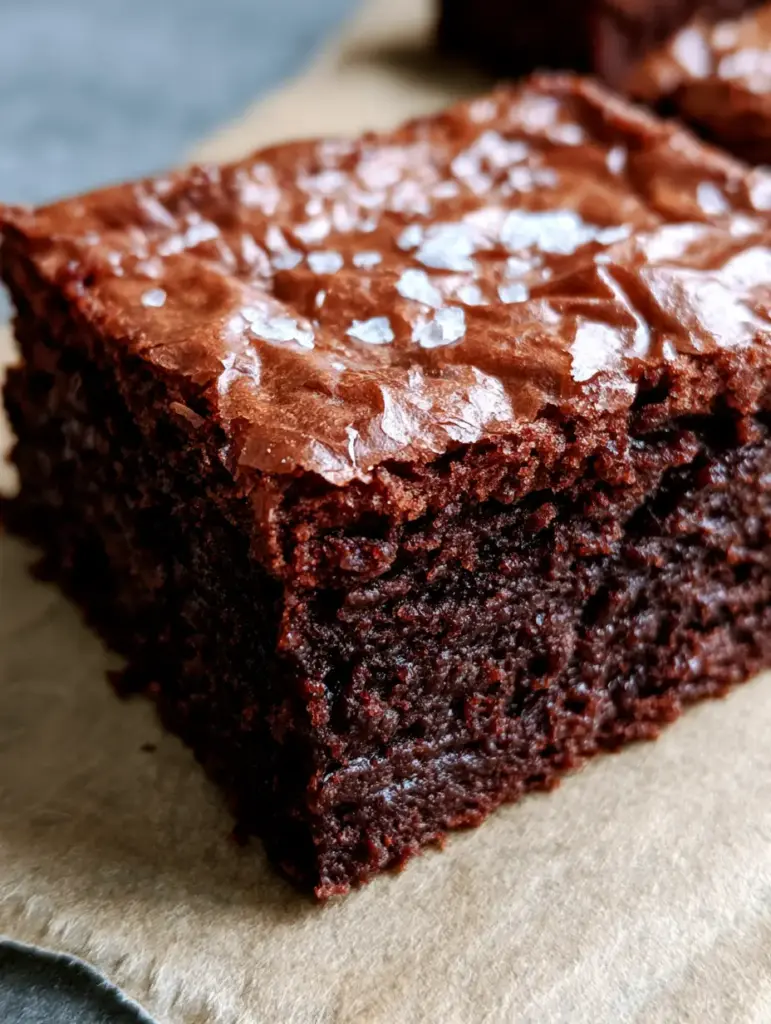
- The Texture Contrast: You get a delicate, shiny crinkle crust that crackles elegantly, perfectly contrasting the dense chocolate brownie interior.
- Intense Flavor Profile: Using high-quality cocoa powder creates a deep, dark chocolate flavor that isn’t masked by excessive milk solids.
- Visual Perfection: These brownies look exactly like a professional bakery photograph, especially when finished with scattered flaky sea salt.
- Pantry Staple Success: No need to run to the store for baking chocolate; these rely on the Cocoa Powder Brownies technique using ingredients you already have.
If you love decadent treats, you might also enjoy these chewy turtle treats for a different texture profile. But for today, we are focusing on the classic, baked-to-perfection fudge square.
Essential Ingredients for the Ultimate Cocoa Powder Brownies
To achieve the ultra-fudgy moist interior shown in our Visual Recipe Blueprint, every ingredient serves a specific culinary purpose. Don’t skip the salt or the vanilla, as they are the keys to unlocking the chocolate’s potential.
Unsalted Butter: 1 cup (226g) of melted butter provides the fat necessary for a dense chocolate brownie. We use melted butter rather than creamed to ensure we don’t incorporate too much air, which would make the brownies cakey.
Granulated Sugar: 2 cups (400g) of white sugar. This is the secret to the shiny crinkle crust. When whisked vigorously with eggs, the sugar dissolves and creates a thin layer of meringue that rises to the top during baking.
Large Eggs: 4 room-temperature eggs. These act as the binder and the primary leavening agent. Room temperature is critical for proper emulsification.
Vanilla Extract: 1 tablespoon (15ml). A high volume of vanilla rounds out the bitterness of the cocoa.
Unsweetened Cocoa Powder: 1 cup (100g). We recommend a mix of Dutch-processed for color and natural cocoa for that classic “brownie” tang.
All-Purpose Flour: 1 cup (125g). We keep the flour content low to maintain that ultra-fudgy moist interior. Too much flour results in a bread-like texture.
Flaky Sea Salt: 1 teaspoon (5g) for the batter and extra for scattered flaky sea salt on top. Salt cuts through the richness and makes the chocolate flavors pop.
For those looking for a healthier start to their day before indulging in brownies, check out our quick breakfast smoothie guides.
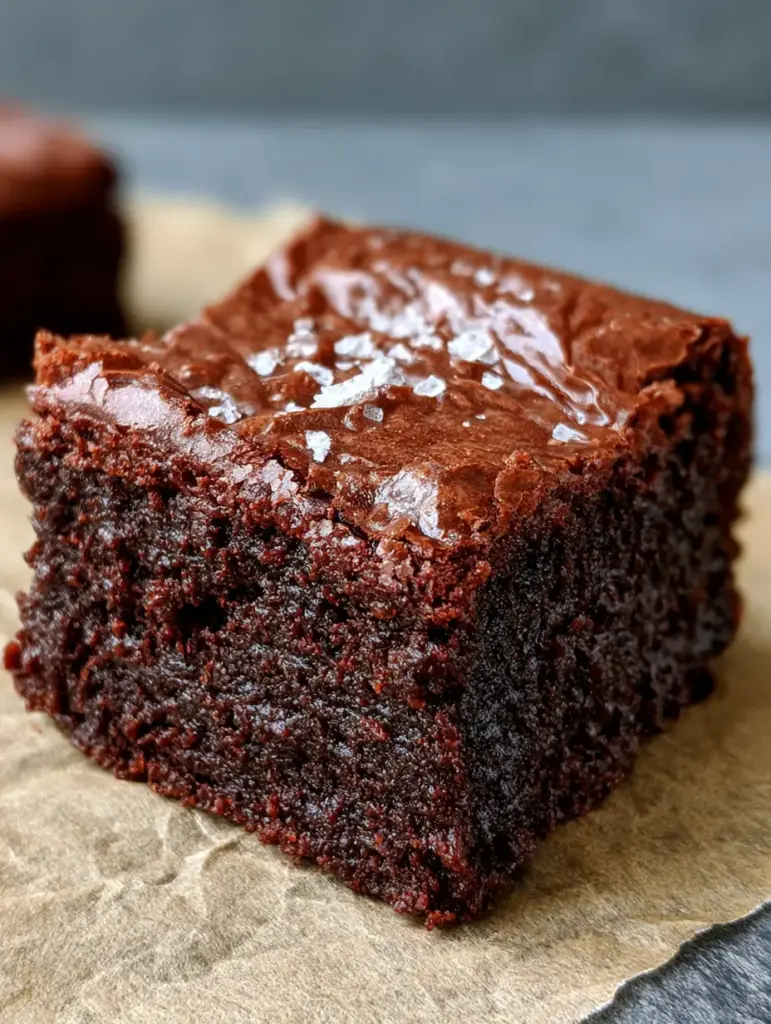
Step-by-Step Instructions for the Perfect Shiny Crust
Step 1: Preparing the Foundation
Preheat your oven to 350°F (175°C). Line a 9×9 inch (23×23 cm) square metal baking pan with rustic parchment paper, leaving an overhang on the sides. This “sling” allows you to lift the brownies out easily, preserving the delicate, shiny, paper-thin crinkle crust.
Step 2: The Emulsification (The Secret to the Crust)
In a large bowl, combine the melted butter and granulated sugar. Whisk by hand for about 2 minutes. Add the eggs and vanilla extract. Crucial Tip: Whisk the mixture vigorously for an additional 3-5 minutes. You are looking for a Visual & Sensory Cue: the batter should turn pale, thick, and ribbon-like. This step dissolves the sugar, which is the only way to get that shiny crinkle crust.
Step 3: Folding the Dry Ingredients
Sift the cocoa powder, flour, and salt directly into the wet ingredients. Using a rubber spatula, gently fold the mixture until just combined. Do not overmix, or you will develop gluten, which destroys the dense chocolate brownie texture. The batter should be thick, glossy, and dark.
Step 4: The Bake and Salt Finish
Pour the batter into the prepared pan, smoothing the top with a spatula. Bake for 25-30 minutes. Visual & Sensory Cue: The edges should be set, but the center should still have a slight wobble if you shake the pan gently. As soon as you remove them from the oven, immediately add the scattered flaky sea salt on top. The residual heat helps the salt crystals adhere to the glossy, crinkled surface.
Expert Tips for Fudgy Success
- Use a Metal Pan: Glass or ceramic pans retain too much heat and can overcook the ultra-fudgy moist interior, making the edges dry.
- The Toothpick Test: For Cocoa Powder Brownies, you don’t want the toothpick to come out clean. It should have a few moist crumbs attached. If it’s wet, keep baking; if it’s clean, they are overbaked.
- Measure by Weight: Cocoa powder is notorious for packing down. Use a kitchen scale to ensure you aren’t adding too much, which would dry out the moist chocolate crumb.
- Wait to Cut: As tempting as it is, let the brownies cool completely in the pan. This sets the dense interior and ensures clean, sharp squares.
If you’re waiting for your brownies to cool and feeling hungry for a meal, try our easy chicken fried rice for a quick dinner.
Storage, Reheating & Freezing
Storage: Keep your Cocoa Powder Brownies in an airtight container at room temperature for up to 4 days. The shiny crinkle crust may soften slightly over time due to humidity.
Reheating: If you prefer a “molten” feel, microwave a square for 10 seconds. This revives the ultra-fudgy moist interior beautifully.
Freezing: These brownies freeze exceptionally well. Wrap individual squares in plastic wrap and store in a freezer bag for up to 3 months. Thaw at room temperature for an hour before eating.
What to Serve With Cocoa Powder Brownies
These brownies are incredibly rich, so they pair best with items that offer a temperature or flavor contrast. A cold glass of milk is classic, but a scoop of high-quality vanilla bean ice cream melting into the dense chocolate brownie is heaven.
For a sophisticated dessert course, serve a single square on a neutral slate-gray background plate with a dollop of unsweetened whipped cream and a few fresh raspberries. The acidity of the berries cuts through the dense, moist chocolate crumb perfectly.
Need more prep ideas? If you’re doing a full meal prep Sunday, consider adding these make-ahead chia puddings to your list alongside your brownie baking.
Frequently Asked Questions
Yes! Dutch-process cocoa will result in a darker, richer color and a smoother chocolate flavor. Natural cocoa powder will yield a slightly lighter brownie with a bit more zing.
Allow the brownies to cool completely in the pan first. Then, use a sharp chef’s knife and wipe it clean with a damp cloth between every single cut.
Cakey brownies usually result from over-mixing the flour or using too much leavening. This recipe omits baking powder to ensure a dense, fudgy interior, so be careful not to over-incorporate air once the flour is added.
The shiny crust is actually a thin layer of meringue. To achieve it, you must whisk the eggs and sugar together long enough for the sugar to fully dissolve and the proteins to aerate, typically 3-5 minutes.
The Ultimate Cocoa Powder Brownies Recipe
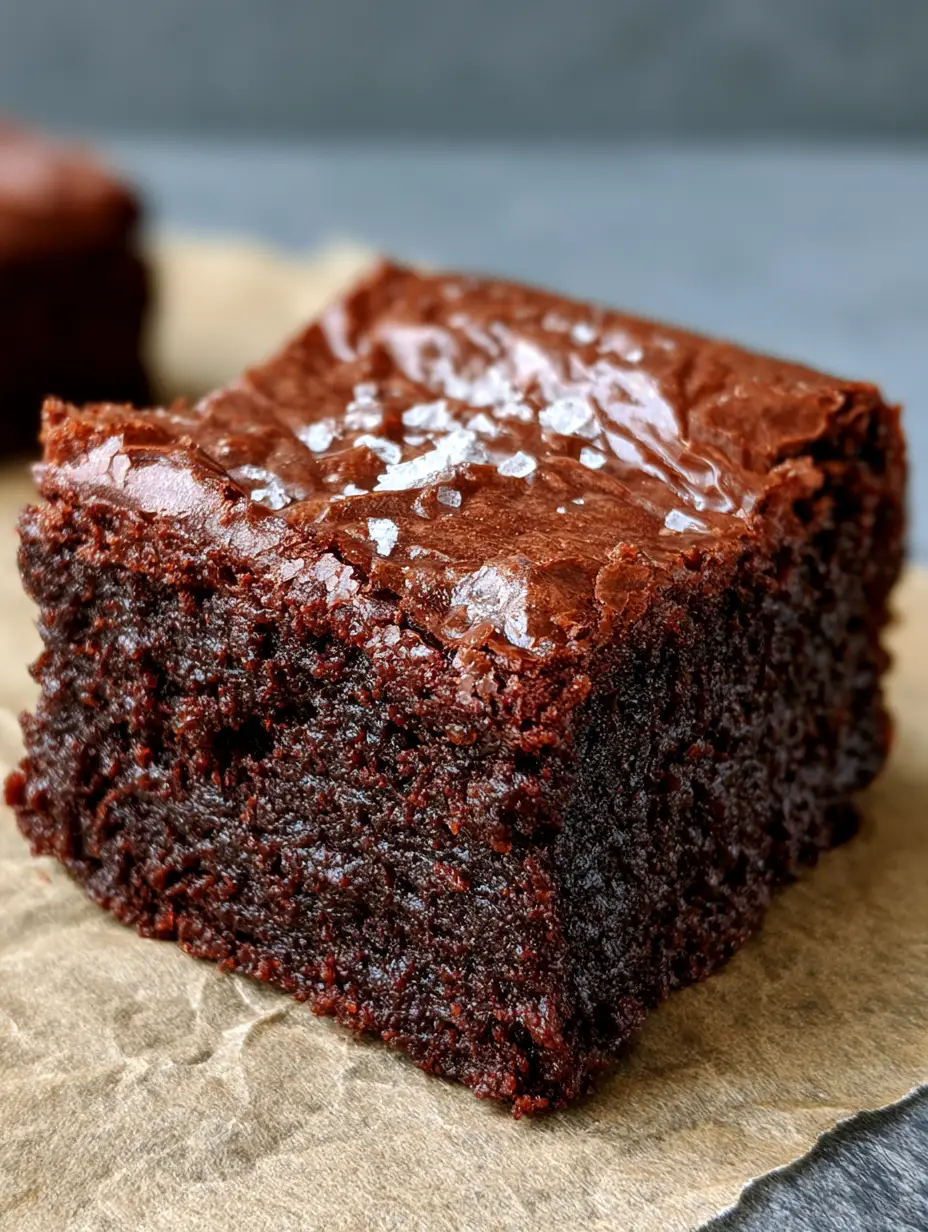
Cocoa Powder Brownies with a Paper-Thin Shiny Crinkle Crust
Ingredients
Equipment
Method
- Preheat oven to 350°F (175°C) and line a 9x9 inch pan with parchment paper.
- Whisk melted butter and sugar for 2 minutes. Add eggs and vanilla, then whisk vigorously for 3-5 minutes until pale and thick to ensure a shiny crust.
- Gently fold in sifted cocoa powder, flour, and salt until just combined. Do not overmix.
- Pour into pan and bake for 25-30 minutes until edges are set but center remains slightly wobbly.
- Top immediately with flaky sea salt. Cool completely in the pan before slicing for a dense, fudgy interior.
Notes
Do not overbake! A toothpick should have moist crumbs.
Save This Recipe to Pinterest!
Don’t lose track of the best Cocoa Powder Brownies you’ll ever make! Hover over any image to save this to your Desserts or Baking board on Pinterest. If you make these, please follow me @diane_kitchen_1 for more decadent treats. Did you get that perfect shiny crinkle crust? Take a photo and share it in the comments below, and don’t forget to leave a 5-star rating!