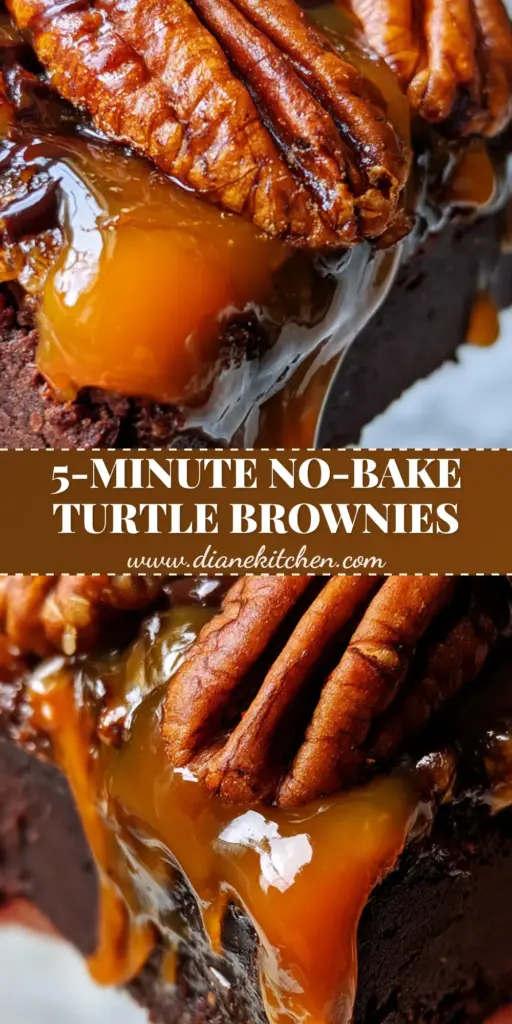
These No Bake Turtle Brownies are the ultimate indulgence for anyone who craves a thick, fudgy chocolate base topped with a viscous, glossy amber caramel. If you have been searching for a dessert that requires zero oven time but delivers professional-tier results, this recipe is your new holy grail. The contrast between the dense dark cocoa foundation and the crunch of whole toasted salted pecan halves creates a sensory experience that Pinterest foodies dream of.
Imagine biting into a square where melted dark chocolate drizzle meets a sprinkle of flaky sea salt crystals. Unlike traditional cocoa powder brownies, this no-bake version relies on high-quality binders to maintain a rich, truffle-like texture that stays firm at room temperature. Whether you are prepping for a party or just need a decadent treat to pair with your morning breakfast smoothie recipes, these brownies are a guaranteed showstopper.
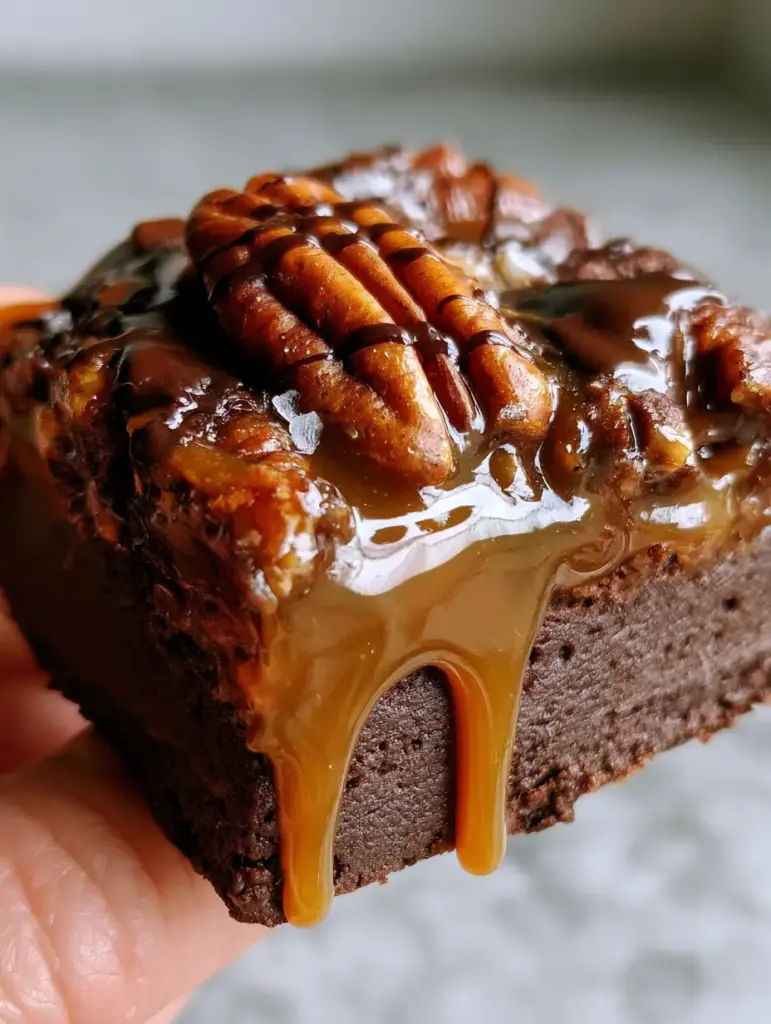
Why These Fudgy No-Bake Squares Work
- Texture Contrast: You get a thick, matte cocoa foundation paired with an oozing, glossy amber-colored salted caramel.
- No-Oven Ease: Perfect for hot summer days or when your oven is occupied with a chicken zucchini bake.
- Visual Impact: The deep golden-brown ridges of the toasted pecans and the shiny melted dark chocolate make these highly “pinnable.”
- Make-Ahead Friendly: These actually taste better after the flavors have melded in the fridge for a few hours.
Essential Ingredients for Gourmet No Bake Turtle Brownies
To achieve the specific handheld smartphone photo aesthetic seen in high-end food photography, you must use the right ingredients. Each component serves a technical purpose in the structural integrity and flavor profile of the dish.
The Fudgy Brownie Base
2 cups (240g) Almond Flour: This provides the dense, thick structure necessary for a no-bake base without the grittiness of raw flour.
3/4 cup (75g) Dark Cocoa Powder: Use Dutch-processed cocoa for that dark, fudgy, matte appearance and a deep chocolate flavor.
1/2 cup (120ml) Maple Syrup or Honey: A liquid sweetener acts as the primary binder to keep the base moist yet firm.
1/4 cup (60ml) Melted Coconut Oil: This is the “secret” to a brownie that sets perfectly in the fridge while remaining soft enough to bite through.
1 tsp (5ml) Pure Vanilla Extract: To round out the bitterness of the dark cocoa.
The Glossy Amber Caramel Layer
1 cup (200g) Granulated Sugar: We will caramelize this to achieve that thick, viscous amber-colored glow.
6 tbsp (85g) Salted Butter: Cubed and at room temperature to prevent the caramel from seizing.
1/2 cup (120ml) Heavy Cream: This creates the “ooze” factor when the brownie is held between fingers.
1/2 tsp (2.5g) Sea Salt: To balance the intense sweetness of the amber sauce.
The Iconic Turtle Toppings
1.5 cups (150g) Whole Pecan Halves: We will toast these to bring out deep golden-brown ridges and maximum nuttiness.
1/2 cup (90g) Dark Chocolate Chips: Melted for a fine drizzle of shiny chocolate.
1 tsp (5g) Flaky Sea Salt: For that final, professional scatter of visible grains on top.
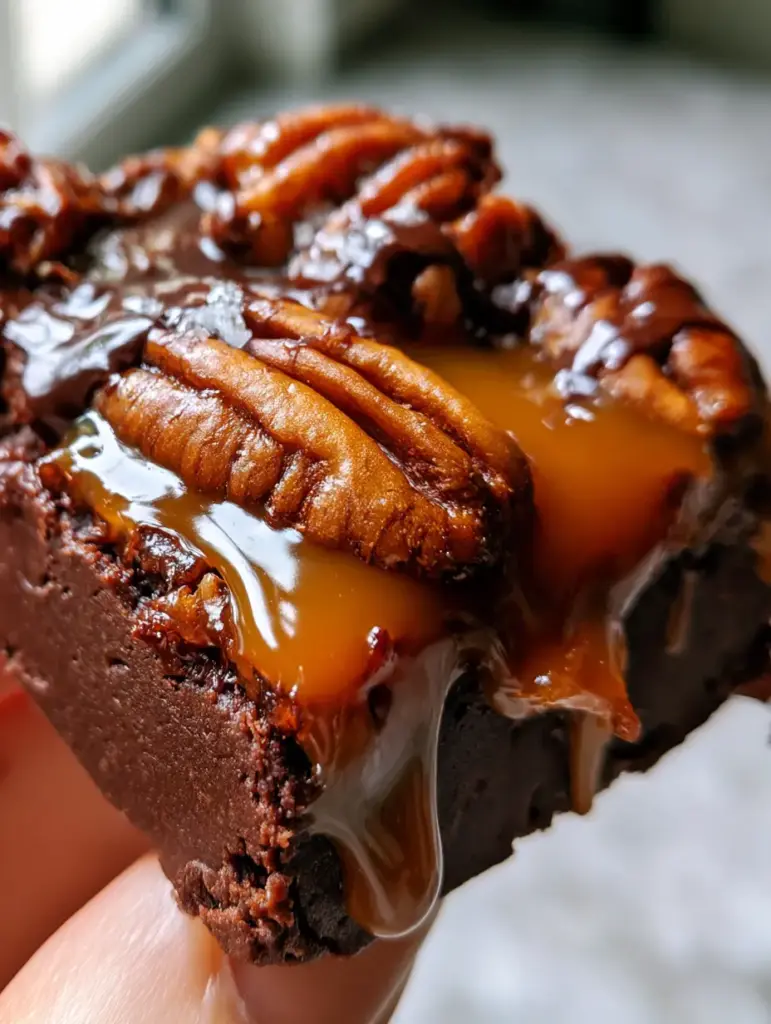
Mastering the No-Bake Brownie Technique
Creating No Bake Turtle Brownies is a three-stage process: building the foundation, simmering the caramel, and assembling for visual impact. Follow these steps to ensure your brownies look exactly like the macro close-up photos.
Step 1: Constructing the Dense Cocoa Foundation
In a large mixing bowl, whisk together the almond flour and dark cocoa powder until no lumps remain. Add the maple syrup, melted coconut oil, and vanilla extract. Stir vigorously until a thick, stiff dough forms.
Line an 8×8 inch (20x20cm) square pan with parchment paper, leaving an overhang on the sides. Press the cocoa mixture into the pan using a flat-bottomed measuring cup. You want a perfectly level, matte surface. Place this in the freezer for 15 minutes to firm up.
Step 2: Simmering the Glossy Amber Caramel
In a heavy-bottomed saucepan, melt the sugar over medium heat. Do not stir; simply swirl the pan occasionally. Watch closely until the sugar transforms into a thick, glossy amber liquid. Once it reaches a deep copper color, whisk in the butter immediately.
Slowly pour in the heavy cream while whisking constantly. The mixture will bubble violently—this is normal. Continue to simmer for 2-3 minutes until the sauce is thick and viscous. Stir in the sea salt and let it cool for 10 minutes. It should be thick enough to drip down the side of a brownie without running off completely.
Step 3: Toasting the Pecans and Final Assembly
While the caramel cools, place the whole pecan halves in a dry skillet over medium heat. Toast for 3-5 minutes until fragrant and the ridges become a deep golden-brown. Set aside.
Remove the brownie base from the freezer. Pour the cooled caramel over the top, spreading it to the edges. Arrange the toasted pecans across the caramel layer, pressing them in slightly. Melt the dark chocolate and use a spoon to create a fine, shiny drizzle in a zig-zag pattern. Finally, sprinkle the flaky sea salt crystals over the surface.
Expert Tips for Pinterest-Perfect Results
- The Drip Factor: For that oozing caramel look in photos, let the brownies sit at room temperature for 10 minutes before slicing and serving.
- Clean Slices: Dip your knife in hot water and wipe it dry between every single cut. This prevents the caramel and chocolate drizzle from smearing.
- Salt Quality: Use Maldon or similar flaky sea salt. Standard table salt will dissolve into the caramel and lose the visual “crystal” effect.
- Toasting is Key: Raw pecans lack the structural snap and color depth required for a true “Turtle” brownie experience.
How to Store and Serve Your Brownies
These brownies are rich! We recommend slicing them into 16 small squares. Store them in an airtight container in the refrigerator for up to 7 days. If you want to keep them longer, these No Bake Turtle Brownies freeze beautifully for up to 3 months.
To freeze, wrap individual squares in plastic wrap and place them in a freezer bag. This is a great way to have a high-energy snack ready, similar to how you might meal-prep chia pudding or other healthy treats for a busy week.
What to Serve With Decadent Turtle Brownies
Because these brownies are intensely rich and fudgy, they pair best with beverages that offer a bit of acidity or bitterness. A cold brew coffee or a glass of unsweetened almond milk is perfection. If you are serving these at a brunch, they act as a fantastic dessert after a savory egg salad sandwich or a light vegetable dish.
Frequently Asked Questions
Yes! Use coconut oil instead of butter and full-fat coconut milk or cream for the caramel. Ensure your chocolate drizzle is dairy-free.
For a nut-free base, you can use finely crushed graham crackers or oat flour, though the texture will be slightly less dense than the almond flour version.
Toasting the pecans is essential. It removes moisture and develops the oils, ensuring they stay crunchy even when sitting on top of the moist caramel layer.
Caramel needs to reach a specific temperature and simmer for a few minutes after adding the cream to become viscous. If it’s too thin, simmer it for an extra 2-3 minutes.
The Ultimate No Bake Turtle Brownies Recipe
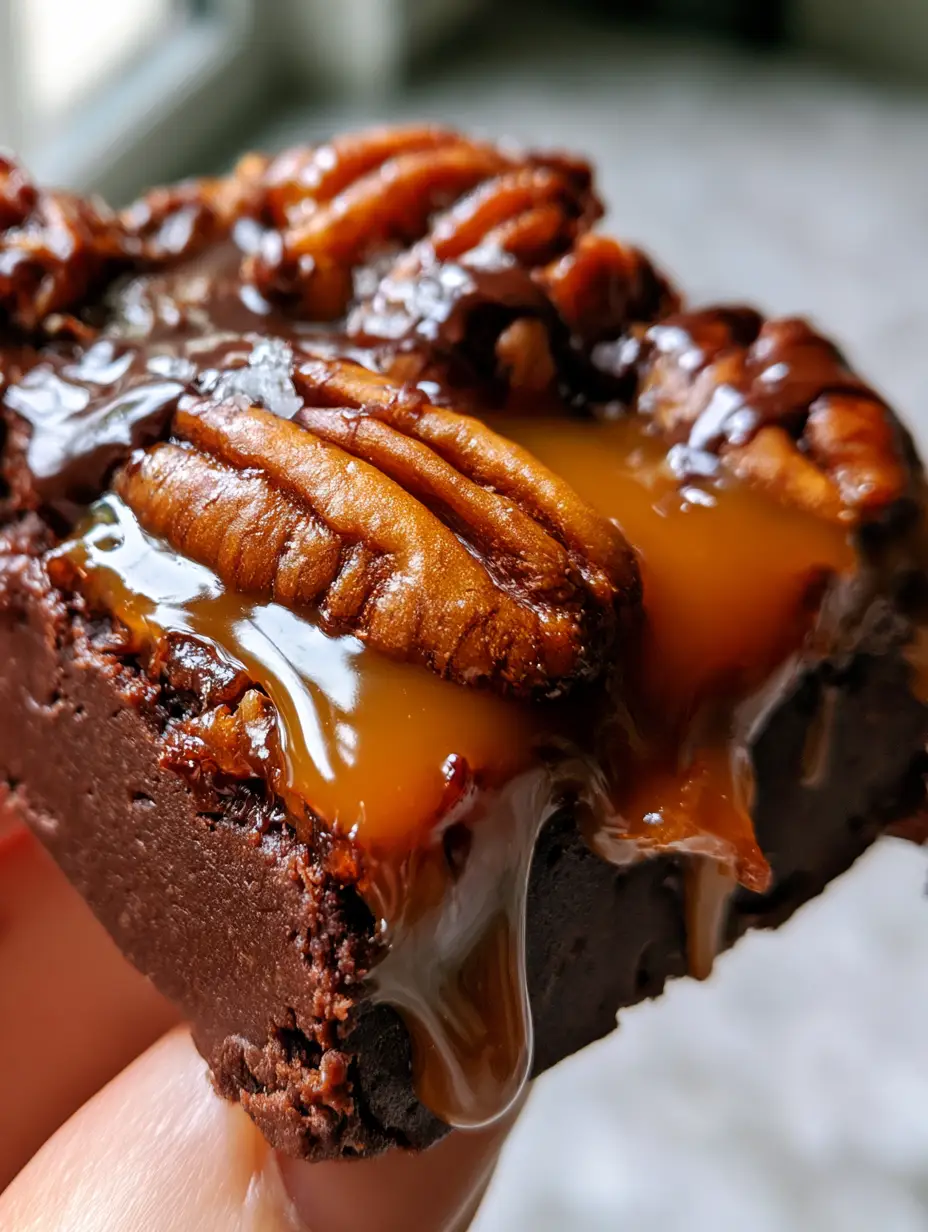
No Bake Turtle Brownies with Salted Caramel and Toasted Pecans
Ingredients
Equipment
Method
- Whisk almond flour and cocoa powder. Add maple syrup, melted coconut oil, and vanilla. Stir until a thick, matte dough forms.
- Press the mixture firmly into a lined 8x8 pan. Freeze for 15 minutes to set.
- Melt sugar in a saucepan over medium heat until it becomes a thick, glossy amber liquid.
- Whisk in butter until melted, then slowly pour in heavy cream. Simmer for 2-3 minutes until viscous. Add sea salt and cool slightly.
- Pour caramel over the brownie base. Top with toasted pecan halves. Drizzle with melted dark chocolate and sprinkle with flaky sea salt.
- Refrigerate for at least 2 hours before slicing into squares with a hot knife.
Notes
Dip your knife in hot water for clean, professional slices.
Save, Share, and Rate!
If you loved this No Bake Turtle Brownies recipe, please help us grow by pinning this recipe to your Dessert Board on Pinterest! Follow diane_kitchen_1 for more “Pinterest-viral” recipes and kitchen hacks. Did your caramel turn out perfectly glossy? Take a photo and share it in the comments below—we love seeing your recreations! Don’t forget to leave a 5-star rating in the recipe card above to let others know how much you enjoyed these fudgy treats. For more wellness inspiration, check out our glowing skin tips to stay radiant while enjoying your favorite desserts!