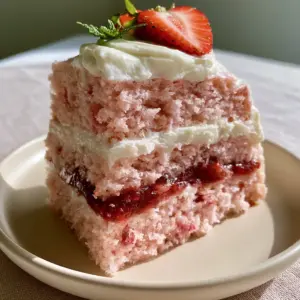
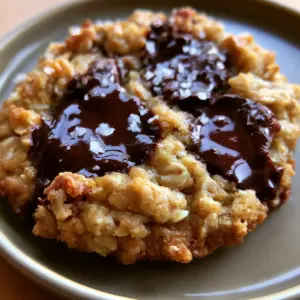
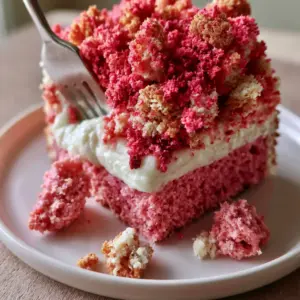
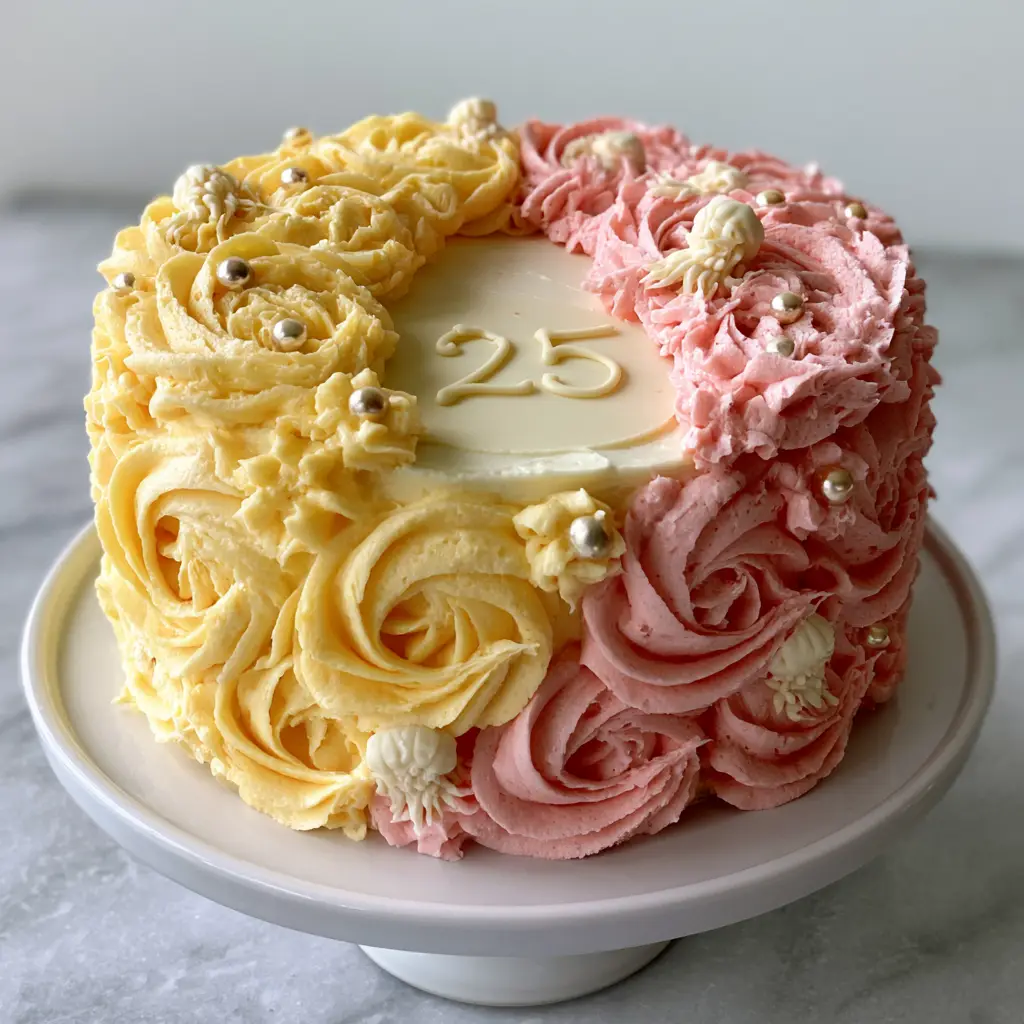
This sponge bob patrick birthday cake is the ultimate celebration of friendship, bringing the vibrant energy of Bikini Bottom right to your kitchen counter. Whether you are celebrating a milestone 25th birthday or hosting a themed bash, this cake delivers professional-level aesthetics with a nostalgic, playful twist. The combination of fluffy vanilla sponge and silky, two-toned buttercream makes it a guaranteed crowd-pleaser that looks just as good as it tastes.
Creating a sponge bob patrick birthday cake doesn’t require a professional bakery; it just takes the right techniques and a little bit of creative flair. In this guide, we will walk through the exact steps to achieve that iconic yellow and pink swirl, the hand-piped buttercream jellyfish, and the elegant white chocolate plaque. This isn’t just a cake—it’s a centerpiece designed to stop the scroll on Pinterest and spark joy at any party.
Why You Will Love This Vibrant Birthday Masterpiece
- Perfect Texture Contrast: A moist, tender vanilla sponge paired with thick, luscious swirls of vibrant yellow and soft pink buttercream frosting.
- Forensic Visual Detail: From the hand-piped buttercream jellyfish to the shiny edible sugar pearls, every element is designed for maximum visual impact.
- Customizable Milestones: Featuring a smooth white chocolate plaque with a hand-piped number, easily adaptable for any age.
- Professional Finish: We use high-fat European-style butter to ensure the frosting holds its shape for those iconic “Bikini Bottom” ripples.
Essential Ingredients for the Perfect Character Cake
To ensure your sponge bob patrick birthday cake turns out as stunning as the photos, high-quality ingredients are non-negotiable. Here is what you will need for both the sponge and the signature frosting.
For the Fluffy Vanilla Sponge
- 3 cups (375g) All-Purpose Flour: Provides the structure needed to support the heavy buttercream swirls.
- 2 cups (400g) Granulated Sugar: For sweetness and a tender crumb.
- 1 ½ cups (340g) Unsalted Butter: Ensure it is at room temperature for proper aeration.
- 1 cup (240ml) Whole Milk: Adds moisture and richness; similar to the base used in our moist strawberry cake.
- 4 Large Eggs: Room temperature eggs emulsify better into the batter.
- 1 tbsp (15ml) Vanilla Extract: Use high-quality bean paste for those beautiful black flecks.
- 1 tbsp (15g) Baking Powder: The lifting agent for a light, airy texture.
- ½ tsp (3g) Salt: To balance the sweetness of the frosting.
For the Two-Tone Buttercream and Decor
- 4 cups (900g) Unsalted Butter: Softened for a creamy, pipeable consistency.
- 8-10 cups (1kg – 1.2kg) Powdered Sugar: Sifted to avoid any lumps in your piping tips.
- Gel Food Coloring (Vibrant Yellow and Soft Pink): Gel is essential to prevent thinning the frosting.
- 4 oz (115g) White Chocolate: For the center plaque.
- 2 oz (55g) Dark Chocolate: Melted for piping the number 25.
- Edible Sugar Pearls: To add a “bubbly” underwater shimmer.
Step-by-Step: Baking the Best Vanilla Sponge
1. Creaming for Volume
Preheat your oven to 350°F (175°C). Grease two 8-inch round cake pans. In a large bowl, cream the softened butter and granulated sugar together for at least 5 minutes until the mixture is pale and fluffy. This step incorporates the air necessary for a light sponge.
2. The Wet and Dry Alternation
Whisk together your flour, baking powder, and salt. Gradually add the eggs one at a time to the butter mixture, followed by the vanilla. Slowly alternate adding the dry ingredients and the milk, beginning and ending with the flour. This prevents the batter from curdling, a technique we also use for our cinnamon roll cake.
3. The Golden Bake
Divide the batter evenly between the pans. Bake for 30-35 minutes or until a toothpick comes out clean. Let the cakes cool in the pans for 10 minutes before transferring them to a wire rack. They must be completely cold before you even think about frosting.
Decorating Your Sponge Bob Patrick Birthday Cake
1. Mastering the Two-Tone Swirl
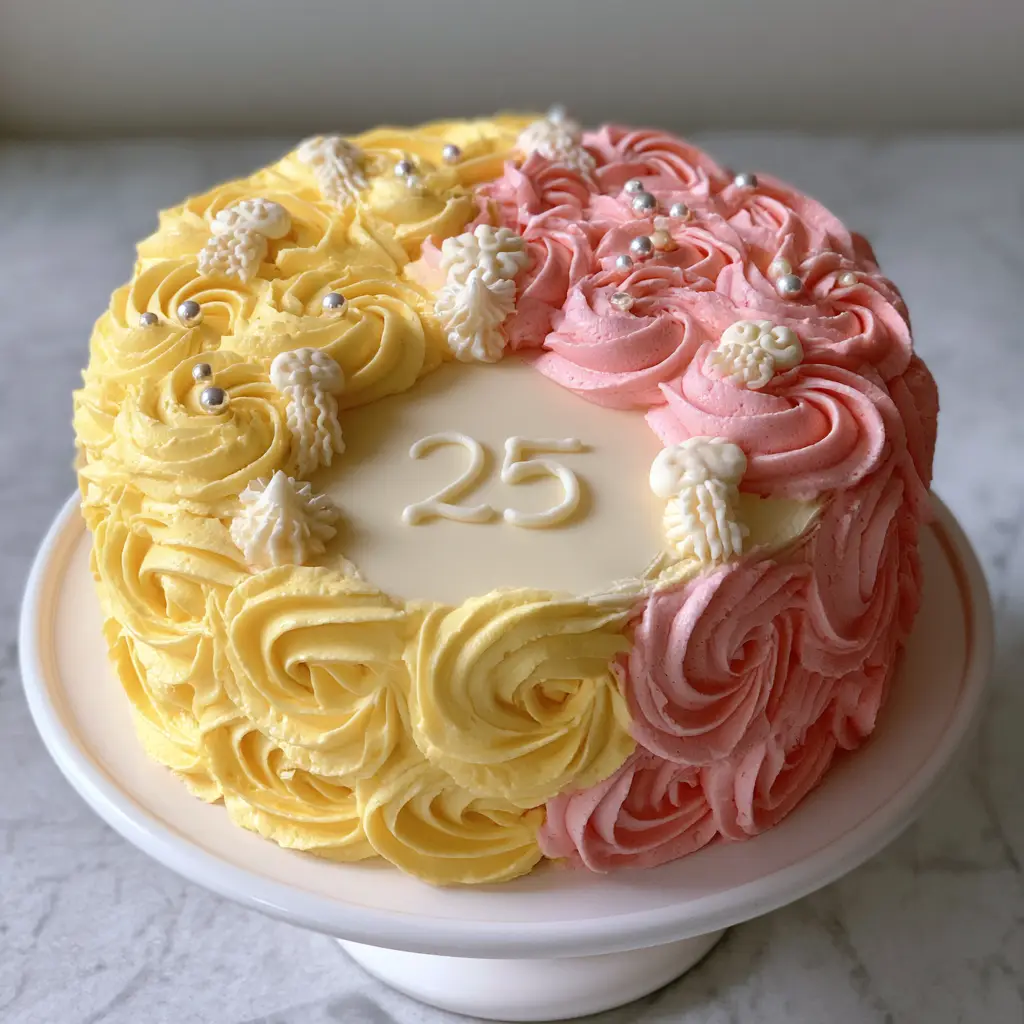
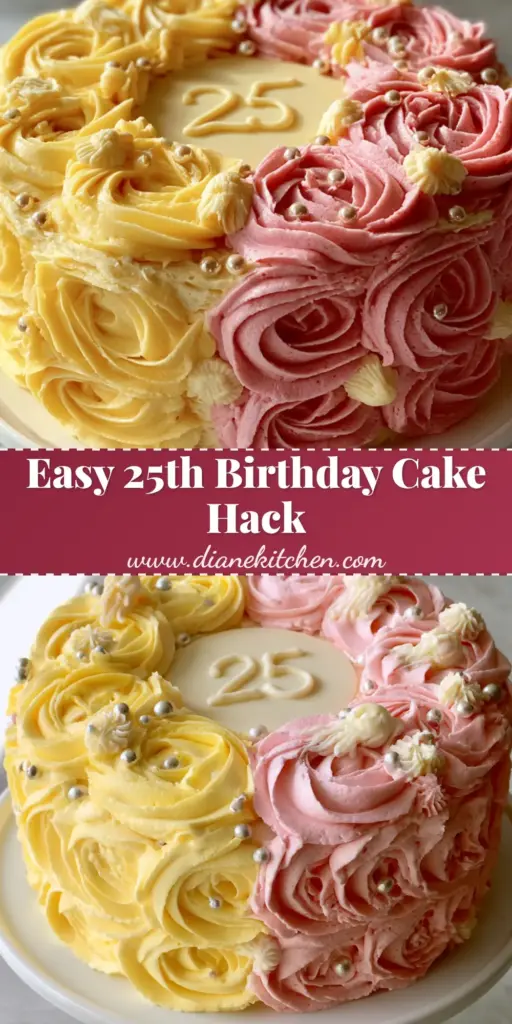
Divide your buttercream into two bowls. Tint one with vibrant yellow gel and the other with soft pink gel. Prepare two piping bags with large star tips. On the left half of the cake, pipe thick, luscious swirls of yellow. On the right half, mirror the design with the pink buttercream. The two colors should meet in a clean, vertical line down the center.
2. The White Chocolate Plaque
Melt your white chocolate and spread it into a smooth, thin circle on parchment paper. Once set, use melted dark chocolate to pipe a clean, hand-written number 25 (or your chosen age) in the center. Carefully place this plaque where the two colors meet.
3. Piped Jellyfish and Sugar Pearls
Using a small round tip, pipe tiny, detailed buttercream jellyfish across the cake. Use a slightly lighter shade of pink for the bells and thin lines for the tentacles. Finish by scattering shiny edible sugar pearls around the base and top, mimicking underwater bubbles. This technique is similar to the intricate detailing found in our chocolate snickers cake.
Expert Tips for a Professional Finish
- Crumb Coat is Key: Always apply a thin layer of frosting first and chill for 30 minutes. This ensures no crumbs ruin your vibrant yellow and pink swirls.
- Gel Over Liquid: Never use liquid food coloring; it will break the emulsion of the buttercream and make it “weep.”
- Temperature Control: If your hands are warm, the buttercream in the bag will melt. Take breaks and pop the piping bag in the fridge for 5 minutes if it feels too soft.
- Smooth Plaque: For a perfectly smooth white chocolate plaque, use a warm offset spatula to level the chocolate before it hardens.
Storage and Freshness Guide
Storage: This cake can be kept at room temperature in a cake carrier for up to 2 days. For longer storage, keep it in the fridge for up to 5 days. If you enjoyed our banana pudding layer cake, you know that moisture management is everything!
Freezing: You can freeze the unfrosted sponge layers wrapped tightly in plastic wrap for up to 3 months. We do not recommend freezing the fully decorated cake as the colors may bleed during thawing.
What to Serve with Your Birthday Cake
To round out the party, serve slices of this cake with a side of vanilla bean ice cream. If you’re hosting a summer bash, pair it with some of our refreshing summer drinks to balance the sweetness of the buttercream.
Frequently Asked Questions
Yes! You can bake the sponge layers and frost the cake a day ahead. Keep it in a cool, airtight container. However, wait to add the white chocolate plaque until the day of serving to prevent it from absorbing moisture.
The secret is using concentrated gel food coloring rather than liquid drops. Gel provides intense color without thinning out the buttercream, ensuring your SpongeBob yellow and Patrick pink are perfectly saturated.
Chill your cake for 20 minutes after applying the first color (yellow). This sets the frosting slightly so that when you pipe the pink swirls next to it, the colors stay distinct and don’t bleed together.
Use a small round piping tip for the jellyfish bells and an even smaller tip (or a zip-top bag with a tiny hole) for the tentacles. Pipe them directly onto the chilled buttercream so they hold their shape.
The Complete Sponge Bob Patrick Birthday Cake Recipe
Sponge Bob Patrick Birthday Cake: The Ultimate Bikini Bottom Duo Recipe
Ingredients
Equipment
Method
- Cream butter and sugar for 5 minutes until pale. Add eggs one at a time.
- Alternate adding dry ingredients and milk until a smooth batter forms.
- Bake at 350°F (175°C) for 30-35 minutes until golden.
- Pipe yellow buttercream on the left half and pink on the right half in large swirls.
- Place the chocolate plaque in the center and pipe small buttercream jellyfish around the sides.
Notes
Ensure the cake is completely cool to prevent the buttercream jellyfish from sliding.
Share Your Bikini Bottom Creations!
Did you make this sponge bob patrick birthday cake? We want to see your results! Please save this recipe to your Pinterest boards so you can find it later. Follow diane_kitchen_1 for more creative dessert inspiration, and don’t forget to leave a 5-star rating and a photo in the comments below if you loved it!