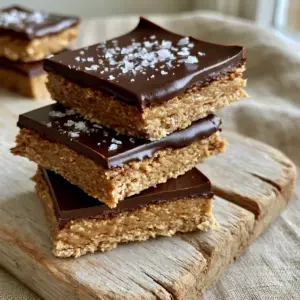
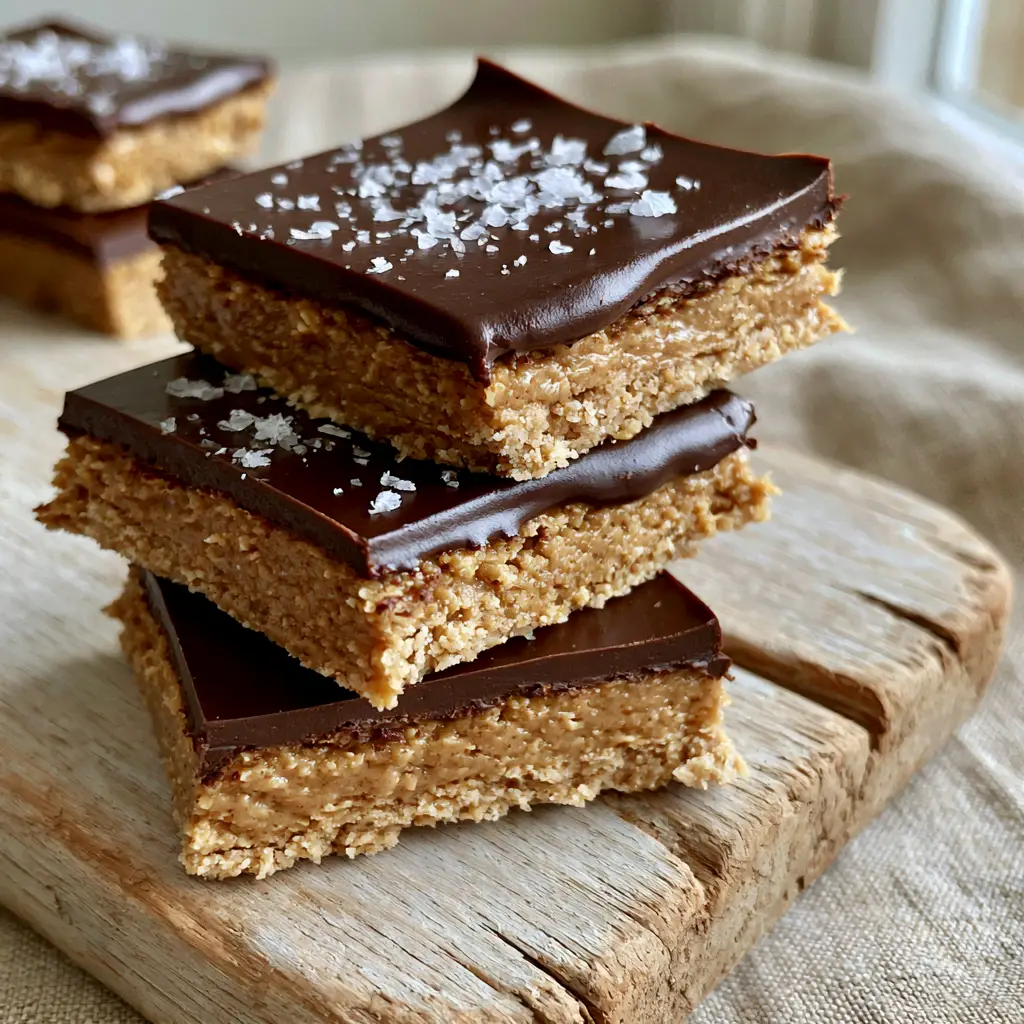
no-bake peanut butter cup bars are the ultimate indulgence for anyone who craves the timeless combination of salty peanut butter and rich, velvety chocolate. These bars feature a thick, dense, and slightly sandy-textured peanut butter base that perfectly mimics the center of a classic peanut butter cup, topped with a professional-grade glossy dark chocolate ganache and finished with a delicate crunch of flaky sea salt crystals.
If you are looking for a dessert that requires zero oven time but delivers high-end bakery results, these no-bake peanut butter cup bars are your new secret weapon. They are strikingly beautiful when stacked on a rustic wood board, showcasing clean-cut edges and a luxurious contrast between the matte base and the shimmering ganache topper.
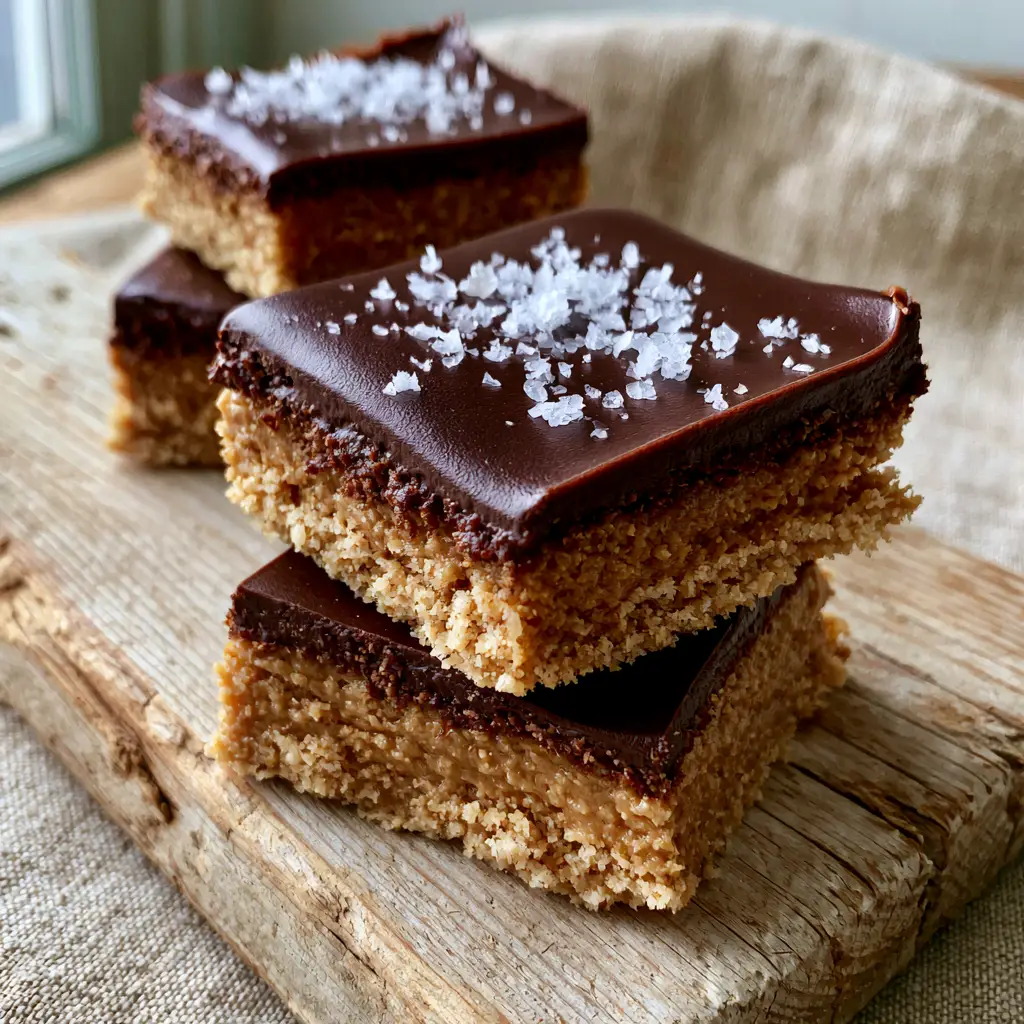
Why You Will Love These No-Bake Peanut Butter Cup Bars
- The Texture Contrast: You get a dense, sandy peanut butter layer paired with a soft, melt-in-your-mouth glossy ganache.
- Pantry Staple Hero: This recipe uses simple ingredients you likely already have in your kitchen, like graham crackers and creamy peanut butter.
- Perfectly Balanced: The addition of flaky sea salt crystals cuts through the sweetness, highlighting the deep roasted notes of the peanut butter.
- Visual Showstopper: With their sharp edges and glossy finish, these look like they came from a professional patisserie.
While we love a complex bake like a decadent caramel mousse cake, there is something uniquely satisfying about a no-bake treat that tastes this sophisticated. Much like our favorite soft oatmeal chocolate chip cookies, these bars are designed for maximum flavor with minimal effort.
The Essential Ingredients for Perfect Peanut Butter Bars
To achieve the specific visual and structural goals of the no-bake peanut butter cup bars, every ingredient serves a scientific purpose. We aren’t just mixing things together; we are building a structural masterpiece.
Creamy Peanut Butter: 2 cups (500g). Use a standard commercial brand (like Jif or Skippy) for the best structural integrity. Natural oils in organic peanut butters can sometimes cause the base to become too soft or oily.
Unsalted Butter: 1 cup (227g), melted. This acts as the binder. As the butter chills, it solidifies, giving the bars that signature dense and thick bite.
Graham Cracker Crumbs: 2 ½ cups (300g). These provide the “sandy texture” mentioned in our visual blueprint. They absorb the moisture from the butter and peanut butter to create a sturdy foundation.
Powdered Sugar: 2 cups (240g). This sweetens the base while acting as a drying agent, ensuring the bars aren’t greasy to the touch.
Dark Chocolate Chips: 1 ½ cups (255g). We recommend a 60% cacao content for a sophisticated, glossy finish that isn’t cloyingly sweet.
Heavy Cream: ½ cup (120ml). This is the secret to a soft ganache. It prevents the chocolate from cracking when you bite into the bar.
Flaky Sea Salt: For garnish. Do not use table salt here; you want those large, visible crystals to catch the light and provide a burst of flavor.
How to Make Professional No-Bake Peanut Butter Cup Bars
Step 1: Constructing the Dense Sandy Base
In a large mixing bowl, combine your melted unsalted butter and creamy peanut butter. Whisk them until they are completely homogenous and smooth. You want a liquid gold consistency before adding the dry elements.
Slowly fold in the graham cracker crumbs and powdered sugar. You will notice the mixture transition from a paste to a thick, sandy dough. This is exactly what we want for that “sandy-textured creamy peanut butter base.”
Line a 9×9 inch (23x23cm) square pan with parchment paper, leaving an overhang on the sides. Press the peanut butter mixture into the pan firmly. Use the bottom of a flat measuring cup to smooth it into an even, dense layer. Visual Cue: The surface should be flat and tight, with no loose crumbs.
Step 2: Crafting the Glossy Dark Chocolate Ganache
Place your dark chocolate chips in a heat-proof glass bowl. In a small saucepan, heat the heavy cream until it just begins to simmer (do not let it reach a rolling boil). Pour the hot cream over the chocolate.
Let it sit undisturbed for 5 minutes. This allows the residual heat to melt the chocolate gently, ensuring a glossy finish. Gently whisk from the center outward until the mixture is dark, shiny, and perfectly smooth.
Pour the ganache over the peanut butter base. Tilt the pan to let the chocolate flow naturally to the edges. Culinary Tip: Gently tap the pan on the counter to pop any tiny air bubbles, ensuring a surface as smooth as glass.
Step 3: The Finishing Touch and Chilling
While the ganache is still “soft to the touch” and wet, sprinkle a light scatter of flaky sea salt crystals across the top. The contrast of the white salt against the dark chocolate is the hallmark of a high-end dessert.
Refrigerate the bars for at least 2 hours, or until the base is firm and the ganache has set but remains slightly supple. For the cleanest cuts, place the bars in the freezer for 10 minutes just before slicing.
Expert Tips for Clean Cut Edges
- The Hot Knife Method: Run a sharp chef’s knife under hot water, wipe it completely dry, and make one long, decisive cut. Wipe the knife clean after every single slice.
- Parchment Paper Sling: Never skip the parchment paper. It allows you to lift the entire block of no-bake peanut butter cup bars out of the pan, giving you better leverage for straight lines.
- Avoid Over-Mixing: Once you add the graham cracker crumbs, mix until just combined. Over-working the fats can make the base feel greasy rather than sandy.
If you enjoy the precision of these bars, you might also love the bright, clean flavors of our zesty lemon cupcakes or the vibrant layers in a moist strawberry cake.
Storage and Make-Ahead Instructions
To Store: Keep your no-bake peanut butter cup bars in an airtight container in the refrigerator for up to 1 week. The ganache stays softest at room temperature, but the base needs the cold to stay dense.
To Freeze: Wrap individual bars tightly in plastic wrap and store in a freezer-safe bag for up to 3 months. Thaw in the fridge overnight before serving to maintain that perfectly smooth ganache texture.
What to Serve With These Bars
These bars are incredibly rich, so they pair best with something that provides a flavor contrast. A glass of cold milk is the classic choice, but a shot of bitter espresso or a tart berry coulis also works beautifully.
For a full dessert spread, serve these alongside a strawberry crunch cake for a mix of chocolate-peanut butter and fruity-crunchy textures.
Frequently Asked Questions
Yes, crushed Digestive biscuits or even vanilla wafers work well, though graham crackers provide the most authentic ‘sandy’ peanut butter cup texture.
It is not recommended. Natural peanut butter tends to be too runny and oily, which may prevent the base from setting into that specific dense, sandy texture required for these bars.
Yes, they should be stored in the refrigerator. The butter in the base needs cold temperatures to remain firm and hold its shape.
Chill the bars thoroughly, then use a sharp knife dipped in hot water and wiped dry. Make one clean slice, then wipe the knife clean before the next cut.
Cracking usually happens if you use plain melted chocolate. By adding heavy cream to create a ganache, the top layer remains soft enough to slice through easily without shattering.
The Ultimate No-Bake Peanut Butter Cup Bars Recipe
no-bake peanut butter cup bars with Glossy Dark Chocolate Ganache
Ingredients
Equipment
Method
- In a large bowl, whisk together the melted butter and creamy peanut butter until smooth.
- Stir in the graham cracker crumbs and powdered sugar until a dense, sandy dough forms.
- Press the mixture firmly into a lined 9x9 inch pan, smoothing the top with a flat-bottomed cup.
- Heat heavy cream until simmering, then pour over chocolate chips in a heat-proof bowl.
- Let sit for 5 minutes, then whisk until glossy and smooth.
- Pour the ganache over the peanut butter base and smooth to the edges.
- Sprinkle flaky sea salt over the wet ganache.
- Refrigerate for at least 2 hours before slicing into bars.
Notes
Storage: Keep refrigerated for up to 7 days.
Join the Conversation!
Did you make these no-bake peanut butter cup bars? We want to see your results! Save this recipe to your Dessert Board on Pinterest so you never lose it. If you made a batch, snap a photo and share it in the comments below or tag us on social media.
Don’t forget to leave a 5-star rating if you loved the salty-sweet balance of these glossy treats. For more easy dessert inspiration, check out our recipe for savory pulled pork taquitos (coming soon)—the perfect contrast to a sweet night in!