There is a specific magic that happens when high-end culinary aesthetics meet simple, approachable ingredients in your home kitchen. These ricotta pistachio honey bites are the physical embodiment of that harmony, offering a sophisticated flavor profile that looks like it was plucked straight from a Michelin-starred brunch menu.
Imagine a crisp, golden-brown shell that shatters slightly upon the first bite, revealing a cloud-like, snow-white whipped ricotta center that is as light as air. The experience is elevated by a luxurious drizzle of thick, translucent golden honey and the crunch of vibrant, emerald-green raw pistachios.
Whether you are hosting a bright summer gathering or looking for a refined addition to your holiday spread, these bites offer a sensory journey of warmth, sweetness, and nutty saltiness. They are the perfect balance of “effortless” and “extraordinary,” designed to be captured in the soft morning light before being devoured.
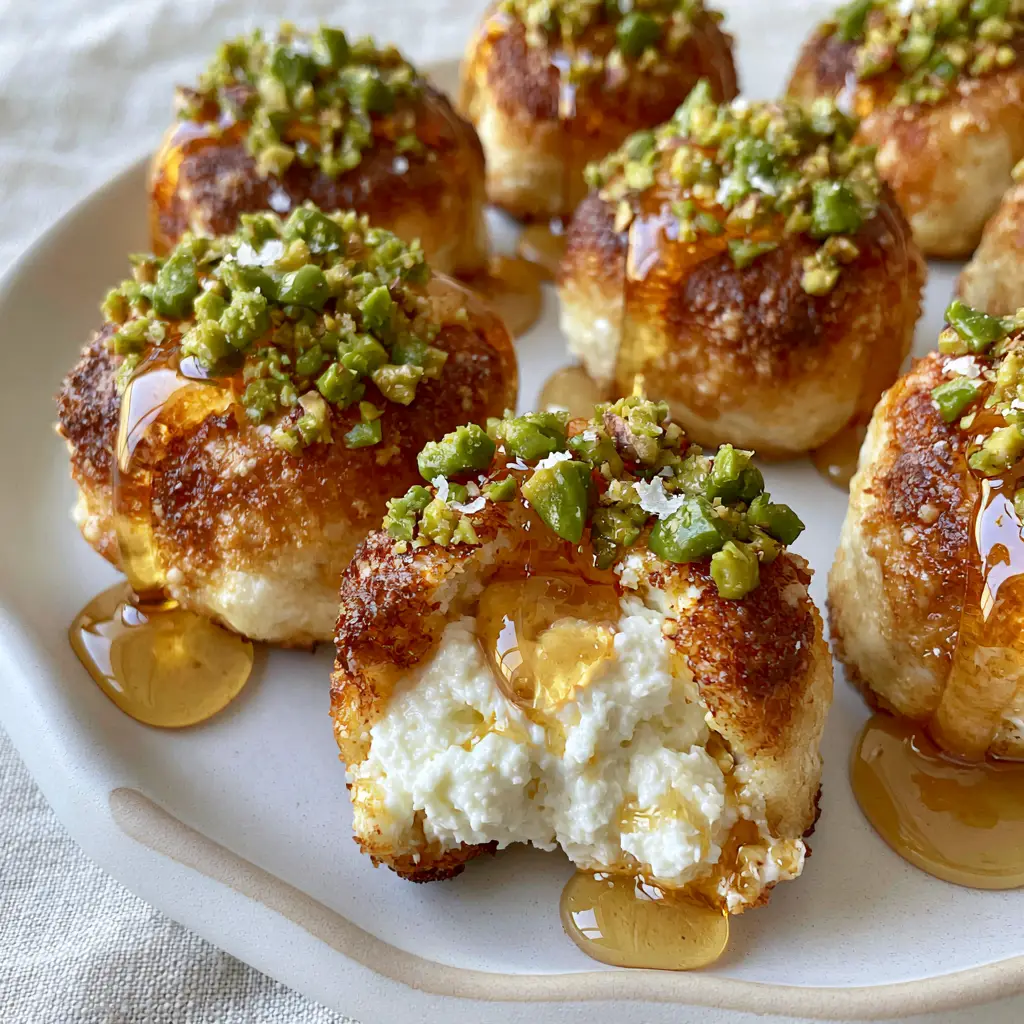
Why You Will Fall in Love With These Golden Ricotta Spheres
- Textural Masterclass: The contrast between the toasted exterior and the whipped, fluffy interior creates a professional-grade mouthfeel.
- Visual Showstopper: With vibrant green pistachios and a shimmering honey glaze, these bites are naturally “camera-ready” for any occasion.
- Balanced Flavor Profile: The mild creaminess of the ricotta is the perfect canvas for floral honey and the earthy, raw crunch of premium pistachios.
- Versatile Serving: These function beautifully as a sophisticated appetizer, a light dessert, or a high-end addition to a weekend brunch.
If you enjoy recipes that combine creamy textures with crunchy toppings, you might also love our refreshing yogurt-based treats for your next gathering. Much like those yogurt bites, this recipe relies on the quality of the dairy to provide a clean, rich foundation.
The Essential Pantry Staples for Your Gourmet Ricotta Bites
To achieve the specific visual and structural results of these ricotta pistachio honey bites, choosing the right ingredients is paramount. We aren’t just looking for flavor; we are looking for the chemical reactions that allow for a toasted crust and a stable, whipped center.
Whole Milk Ricotta Cheese: 2 cups (480g). Use a high-quality, full-fat ricotta; low-fat versions contain too much water, which will prevent the centers from staying fluffy and white during the toasting process.
All-Purpose Flour (for dredging): 1/2 cup (60g). This creates the “invisible” barrier that allows the exterior to brown into a golden-toasted sphere without the cheese melting into a puddle.
Egg Yolk: 1 large yolk. The fat in the yolk acts as a binder, ensuring the spheres hold their perfectly round shape while providing a rich, custardy undertone to the filling.
Raw Green Pistachios: 1/2 cup (65g), coarsely chopped. Seek out raw, unsalted pistachios to maintain that vibrant emerald-green color seen in the visual blueprint; roasted nuts often turn brown and lose their visual pop.
Thick Wildflower Honey: 1/4 cup (60ml). A thick, translucent honey provides the best “drip” effect, clinging to the ridges of the bites rather than soaking in immediately.
Flaky Sea Salt: 1 tsp (5g). This is the “bridge” ingredient that connects the sweetness of the honey to the creaminess of the ricotta, providing a sharp, clean finish.
Unsalted Butter or Neutral Oil: 2 tbsp (30g). Used for the searing process to achieve that specific golden-brown handheld smartphone photo aesthetic.
For more inspiration on party-ready snacks that use pantry staples, check out our collection of favorite dip recipes to round out your appetizer table.
Professional Tools for Achieving the Perfect Sphere
You don’t need a professional kitchen to make these ricotta pistachio honey bites, but a few specific tools will help you achieve the “handheld smartphone photo” quality. A small cookie scoop (1-tablespoon size) is essential for creating uniform, perfectly round spheres.
A heavy-bottomed non-stick skillet or a well-seasoned cast iron pan is necessary for the toasting phase. This ensures even heat distribution so the exterior browns uniformly without sticking or tearing. Finally, a fine-mesh sieve is helpful for straining any excess moisture from the ricotta before you begin.
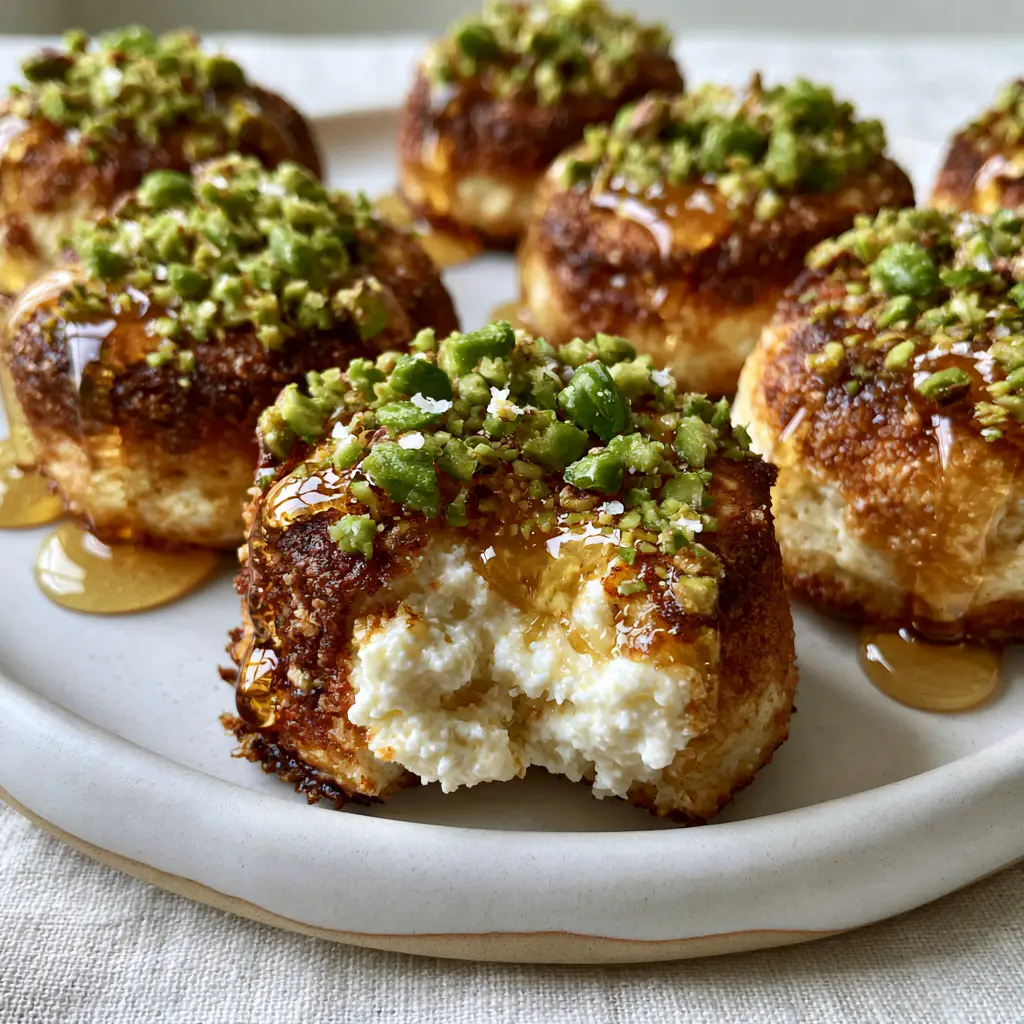
Step-by-Step: Crafting the Perfect Ricotta Pistachio Honey Bites
Preparing the Signature Whipped Ricotta Base
Start by straining your 2 cups (480g) of whole milk ricotta through a fine-mesh sieve for at least 15 minutes. Removing excess whey is the secret to a snow-white center that doesn’t become watery when heated.
Once strained, place the ricotta in a bowl and gently fold in the egg yolk. Do not overmix; we want to maintain the airiness of the cheese to ensure the center remains fluffy and light rather than dense.
Forming and Dredging the Spheres
Using your small scoop, portion the ricotta mixture into 1-inch (2.5cm) spheres. Roll them gently between your palms—the goal is a perfectly round shape with no visible cracks.
Lightly roll each sphere in the all-purpose flour. Shake off any excess; we only want a microscopic layer of flour to facilitate the “Maillard reaction,” which produces that coveted golden-toasted exterior.
The Art of the Golden-Brown Toast
Heat your butter or oil in the skillet over medium heat. When the fat begins to shimmer and gives off a faint nutty aroma, carefully add the ricotta spheres to the pan.
Sear the bites for 1-2 minutes per side, gently rolling them with a spoon. You are looking for a deep, even golden-brown crust. The sound should be a gentle sizzle; if the pan is too hot, the exterior will burn before the interior warms through.
Garnishing for Visual Impact
Place the toasted bites onto a matte ceramic plate with an organic rim. While they are still warm, drizzle the thick golden honey generously over the top, allowing it to catch the light and pool slightly at the base.
Immediately shower the bites with the coarsely chopped emerald-green pistachios. The warmth of the bites will help the nuts adhere to the honey. Finish with a tiny, delicate pinch of flaky sea salt on each sphere.
Expert Tips for Appetizer Success
- Temperature Control: Ensure your ricotta is cold when forming the spheres; cold cheese holds its shape significantly better during the initial sear.
- The Flour Factor: If you find the bites are too soft, place the dredged spheres in the freezer for 10 minutes before toasting to firm up the structure.
- Pistachio Prep: Chop your pistachios by hand rather than in a food processor to achieve the “coarsely chopped” look that provides superior texture.
- Honey Selection: Use a honey with a squeeze bottle or a honey wand to achieve those thin, elegant “catch the morning light” drizzles.
If you’re planning a full menu around these bites, they pair exceptionally well with a crisp, acidic side like our cucumber chickpea feta salad to cut through the richness of the cheese.
Storage and Make-Ahead Instructions
These ricotta pistachio honey bites are best served immediately to preserve the “shatter” of the toasted crust and the fluffiness of the center. However, if you are hosting a party, you can form and dredge the spheres up to 4 hours in advance and keep them refrigerated.
Leftovers can be stored in an airtight container in the fridge for up to 2 days. To reheat, avoid the microwave, as it will make the bites rubbery. Instead, place them in a 350°F (175°C) oven or an air fryer for 3-5 minutes until the exterior regains its crispness.
Creative Pairings for Your Gourmet Spread
The sweet and salty profile of these ricotta pistachio honey bites makes them incredibly versatile. For a balanced brunch, serve them alongside some quick and easy savory bites or a fresh fruit platter.
If you are serving these as a late-night appetizer, they pair beautifully with a chilled glass of prosecco or a light cocktail. They also work as a sophisticated “side” to a larger pasta dish, such as a vibrant summer pasta salad or a classic ranch pasta salad for a more casual outdoor gathering.
Frequently Asked Questions
Yes! Lightly spray the dredged bites with oil and air fry at 375°F (190°C) for 6-8 minutes, shaking halfway through, until they are golden and crisp.
It is not recommended. Low-fat ricotta has a higher water content, which can cause the bites to collapse or leak moisture during the toasting process, preventing the fluffy whipped center.
Always use raw, unsalted pistachios. Roasted pistachios turn brown and lose their vibrant emerald hue, which is key to the visual appeal of this recipe.
A thick wildflower or clover honey works best. If your honey is too thin, it will soak into the crust rather than sitting beautifully on top for that gourmet look.
This usually happens if the ricotta wasn’t strained enough or if the pan wasn’t hot enough to set the crust immediately. Ensure you strain for at least 15 minutes and use a binding agent like egg yolk.
The Complete Ricotta Pistachio Honey Bites Recipe Card
Ricotta Pistachio Honey Bites: The Ultimate Gourmet Sweet and Salty Appetizer
Ingredients
Equipment
Method
- Strain the ricotta through a fine-mesh sieve for 15 minutes to remove excess moisture.
- Gently fold the egg yolk into the strained ricotta until just combined.
- Scoop 1-tablespoon portions and roll into perfectly round spheres.
- Lightly coat each sphere in flour, shaking off any excess.
- Heat butter in a skillet over medium. Toast the bites for 1-2 minutes per side until a deep golden-brown crust forms.
- Plate the warm bites and drizzle generously with honey.
- Sprinkle with coarsely chopped raw pistachios and a pinch of flaky sea salt.
Notes
Use raw pistachios rather than roasted to maintain the vibrant emerald green color.
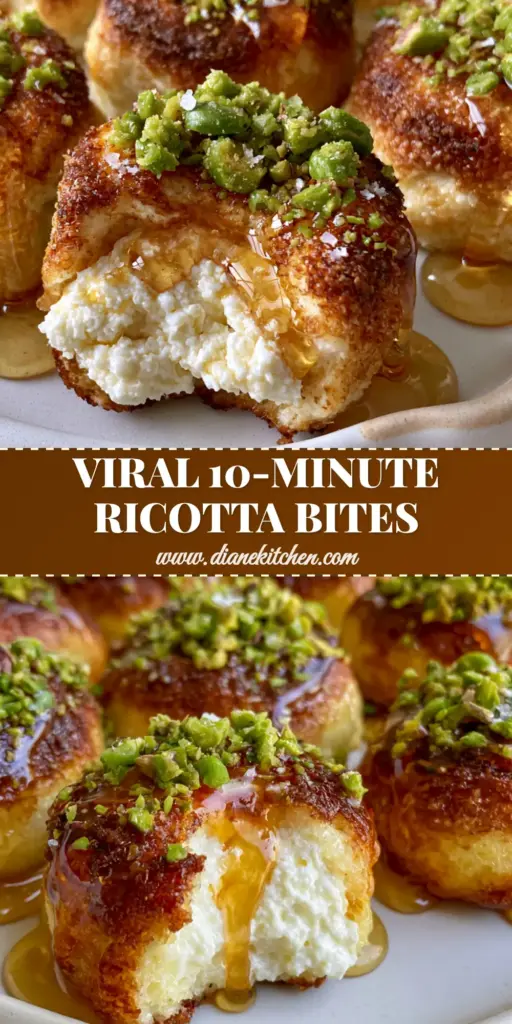
Closing Thoughts on This Sophisticated Treat
Creating gourmet-level appetizers at home doesn’t require a culinary degree—it simply requires attention to detail and high-quality ingredients. These ricotta pistachio honey bites prove that with a few simple techniques, you can create a dish that is as beautiful as it is delicious.
We invite you to share your results with us! Did you achieve that perfect golden-brown crust? Let us know in the comments below. Don’t forget to follow us on Pinterest for more visually stunning recipe inspiration and save this pin for your next event!