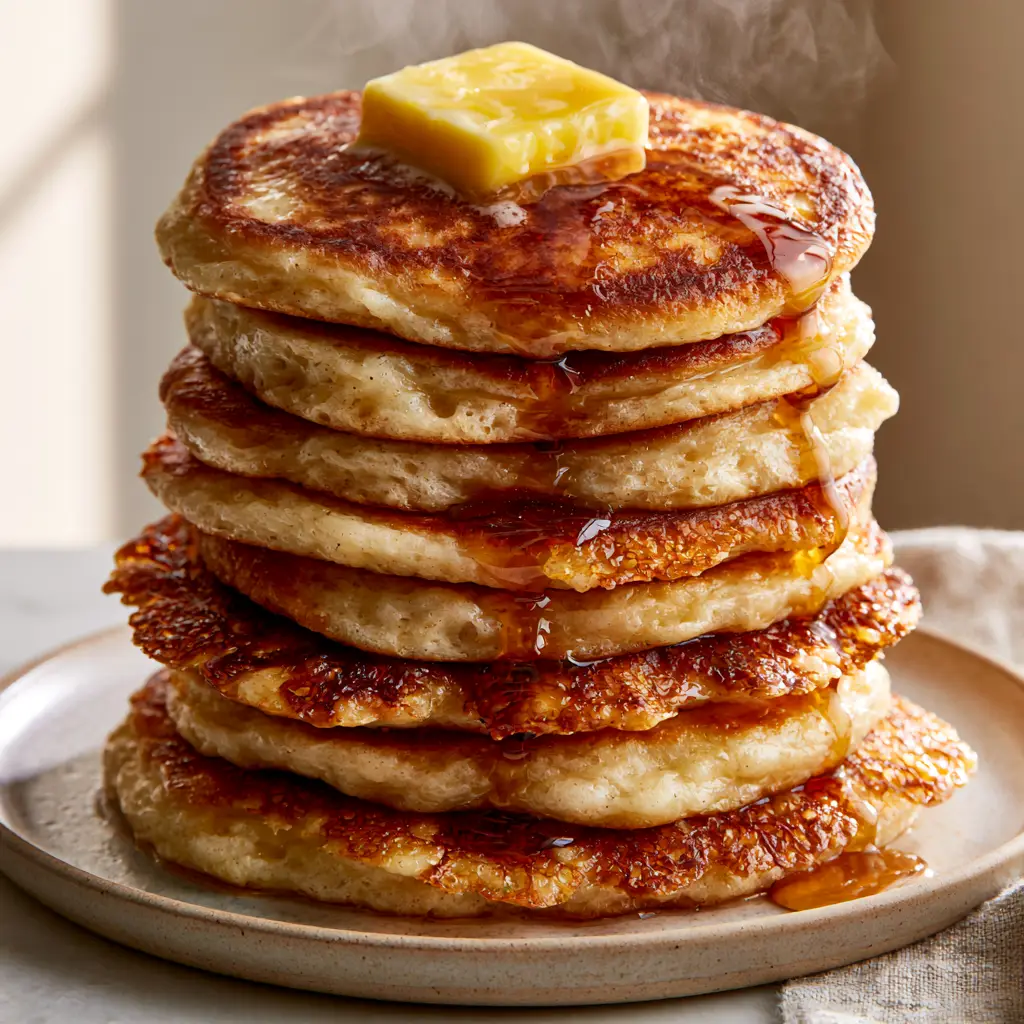
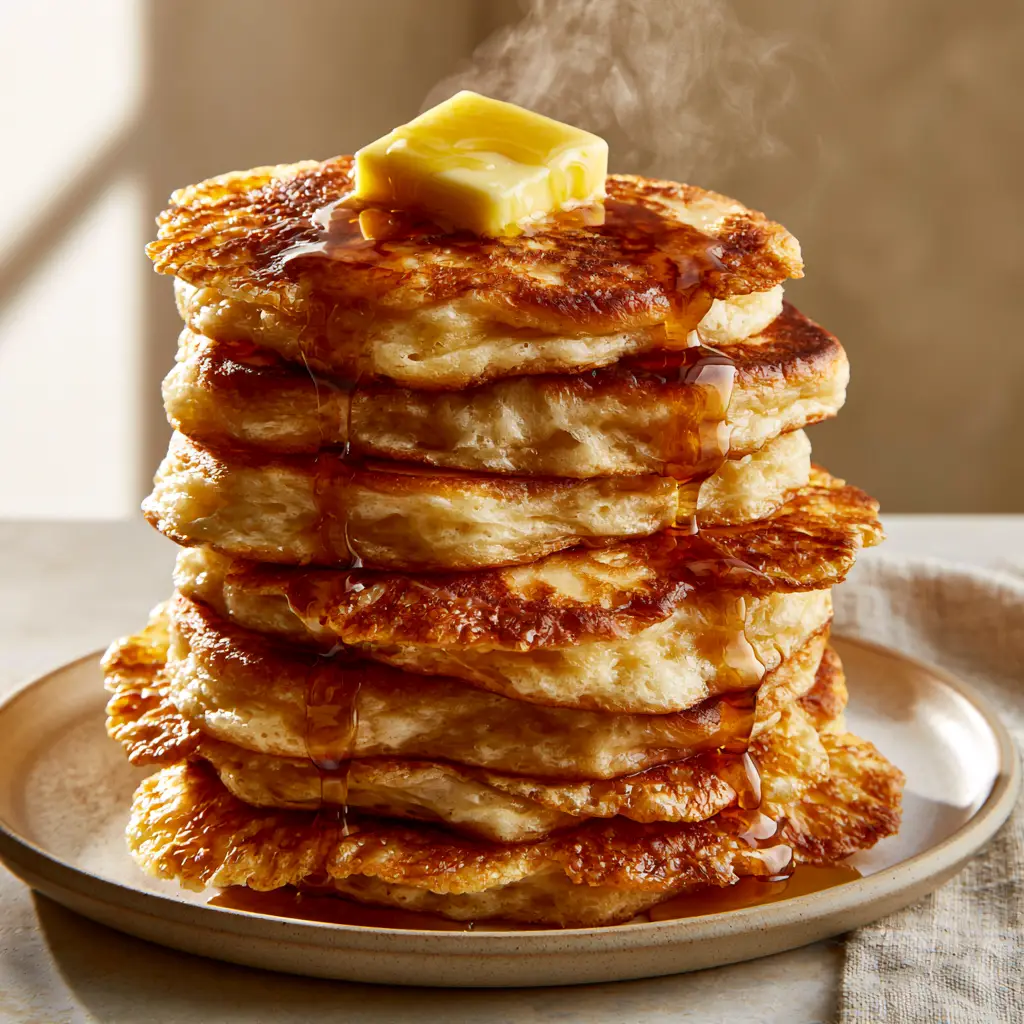
There is nothing quite like waking up to a towering stack of Classic Pancakes, especially when they are six layers deep, steaming hot, and dripping with golden maple syrup. If you have been searching for that elusive restaurant-quality texture—thick, airy, and boasting those iconic crispy, lacy edges—you have arrived at the right place. These are not your average flat flapjacks; these are the pancakes of your dreams.
Our Classic Pancakes recipe focuses on the science of the rise. By using real buttermilk and a specific leavening ratio, we achieve a porous, airy texture that acts like a sponge for high-quality amber maple syrup. The secret to the “lacy edge” mentioned in our visual blueprint is all about the fat-to-heat ratio on your griddle. Get ready to master the art of the 1-inch thick pancake stack.
Why This Is The Only Classic Pancakes Recipe You Need
- Unmatched Vertical Height: We use a specific batter density to ensure each pancake reaches a full 1-inch thickness without collapsing.
- The Perfect Sear: A golden-brown, seared crust provides a beautiful contrast to the soft, pillowy interior.
- Crispy, Lacy Edges: We teach you the butter-basting technique that creates those sought-after buttery, crunchy perimeters.
- Foolproof Porosity: The crumb structure is designed specifically to hold onto a melting square pat of salted butter.
If you enjoy exploring different global breakfast textures, you might also want to try our South African pancakes which offer a thinner, crêpe-like experience, but for today, we are going all-in on the thick American classic.
The Essential Ingredients for High-Rise Fluffiness
To achieve the visual perfection of a Classic Pancakes stack, every ingredient serves a structural or flavor-based purpose. Do not skip the buttermilk—it is the catalyst for the entire recipe.
The Dry Base
All-Purpose Flour (2 cups / 250g): This provides the protein structure. We recommend weighing your flour to ensure the batter isn’t too heavy, which would prevent the 1-inch rise.
Granulated Sugar (2 tbsp / 25g): Not just for sweetness, but for the Maillard reaction. This is what creates that golden-brown seared crust seen in our blueprint.
Baking Powder (2 tsp) and Baking Soda (1 tsp): This double-leavening power reacts with the buttermilk to create the porous, airy texture that Pinterest users love to save.
The Wet Elements
Buttermilk (2 cups / 480ml): The acidity is vital. It tenderizes the gluten and reacts with the soda to create rising steam within the batter.
Melted Salted Butter (4 tbsp / 56g): We use salted butter to balance the sweetness of the amber maple syrup glaze. It also contributes to the crispy lacy edges.
Large Eggs (2): These act as the binder, ensuring your towering stack of six doesn’t lean or crumble under the weight of the syrup.
Looking for a lighter start to your morning? Check out our breakfast smoothie recipes for those busy weekdays when you can’t indulge in a full stack.
Step-by-Step Instructions for the Perfect 6-Stack
1. Preparing the Aerated Batter
In a large mixing bowl, whisk together your flour, sugar, baking powder, baking soda, and a pinch of salt. In a separate jug, whisk the buttermilk, eggs, and slightly cooled melted butter.
Pro Tip: Create a well in the center of the dry ingredients. Pour the wet mixture in and stir until *just* combined. Stop stirring while there are still small lumps! Overmixing develops gluten, which will turn your airy pancakes into chewy rubber.
2. The Resting Phase (Crucial for Thickness)
Allow your batter to sit for at least 10 minutes. You will actually see bubbles forming on the surface. This rest period allows the flour to hydrate fully and the leavening agents to begin their work, ensuring that 1-inch thick, porous texture.
3. Mastering the Griddle Heat
Heat a non-stick skillet or cast-iron griddle over medium heat. To get those crispy lacy edges, add a teaspoon of neutral oil AND a small pat of butter to the pan. The oil prevents the butter from burning, while the butter provides the flavor and the “lace” effect.
4. The Pour and the First Flip
Use a 1/2 cup (120ml) measuring cup to pour the batter. Do not flatten the batter with the back of the cup; let it mound naturally. Look for Visual Cues: Wait until the edges look set and bubbles appear and *pop* on the surface. The bottom should be a deep golden-brown.
5. Achieving the Visual Blueprint Sear
Carefully flip the pancake in one confident motion. Cook for another 1-2 minutes. You are looking for a seared crust that matches the rich, warm tones of the Midjourney prompt. The steam should be rising visibly as you remove it from the heat.
Expert Tips for Success
- Don’t Press Down: Never press your spatula onto the pancake. This kills the airy bubbles and destroys the porous texture.
- Temperature Control: If the outside is dark but the inside is raw, your heat is too high. Aim for a steady medium-low to medium heat.
- The Stack Method: To keep them warm while you finish all six, place them on a wire rack in a 200°F (95°C) oven. This prevents the bottom pancakes from getting soggy.
Want to improve your morning routine beyond the kitchen? Read our glowing skin tips for a holistic approach to wellness.
Storage, Reheating & Freezing
Classic Pancakes are surprisingly meal-prep friendly. You can store leftovers in an airtight container in the fridge for up to 3 days. To maintain the crispy edges, reheat them in a toaster or a dry skillet rather than the microwave.
Freezing: Flash freeze individual pancakes on a baking sheet for 1 hour, then transfer to a freezer bag. They will stay fresh for up to 2 months. Reheat directly from frozen in the toaster for that “freshly seared” taste.
What to Serve With This Towering Stack
While a square pat of melting salted butter and thick amber maple syrup are the standard, you can elevate this meal by serving it alongside crispy bacon or fresh berries. If you’re in the mood for something savory later in the day, consider our cheeseburger bombs for a fun dinner twist.
Frequently Asked Questions
Yes, you can mix 1 cup of whole milk with 1 tablespoon of lemon juice or white vinegar. Let it sit for 5 minutes until curdled before using it in the recipe.
The secret to 1-inch thick pancakes is using buttermilk, not overmixing the batter, and allowing the batter to rest for 10 minutes before cooking to let the leavening agents activate.
Use a heavy-bottomed skillet or cast iron griddle to ensure even heat distribution. Maintain a consistent medium-low heat and wipe the pan between batches.
Flat pancakes often result from overmixing the batter, which destroys air bubbles, or using expired baking powder/soda. Ensure you fold the ingredients gently.
Crispy lacy edges are achieved by using a combination of neutral oil and butter on the griddle. The oil allows for high heat, while the butter fats fry the perimeter of the batter.
The Ultimate Classic Pancakes Recipe Card
Follow the precise measurements below to recreate the exact 6-stack visual from our blueprint. Don’t forget the steam!
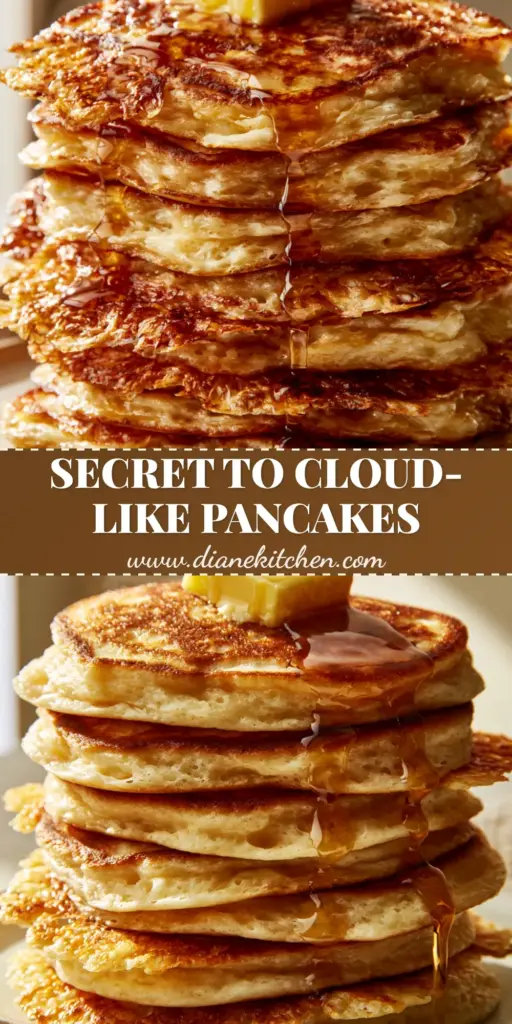
Classic Pancakes: The Ultimate Fluffy Buttermilk Pancake Recipe
Ingredients
Equipment
Method
- Whisk flour, sugar, baking powder, baking soda, and salt in a large bowl.
- In a separate bowl, whisk buttermilk, eggs, and melted butter.
- Gently fold wet ingredients into dry until just combined (lumps are okay). Let rest for 10 minutes.
- Heat skillet over medium heat with a touch of oil and butter for lacy edges.
- Pour 1/2 cup of batter per pancake. Cook until bubbles pop on top and edges are set.
- Flip and cook until the second side is golden-brown. Stack 6 high and top with butter and syrup.
Notes
Use a mix of oil and butter on the pan for the crispiest lacy edges.
Share Your Masterpiece!
Did you achieve the 1-inch thick rise? We want to see your Classic Pancakes! Save this recipe to your Breakfast Board on Pinterest so you never lose it. Follow diane_kitchen_1 for more viral-worthy recipes. If you made these, please leave a 5-star rating and upload a photo of your stack in the comments below—especially if you captured that perfect syrup drip!